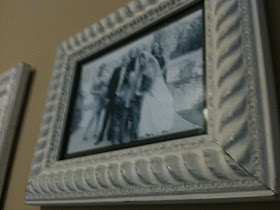
This is another project that I have been doing for years. It's so easy and will really save you a TON of money. All you need are old frames, or frames purchased from the thrift store, and some paint. I love to group a bunch of pictures together, but that can get pretty expensive. This idea, takes so little time and money and will give you a beautiful arrangement of pictures you can be proud of!
Materials:
- Spray paint (or any kind of permanent paint.)
- Assortment of thrift store frames
- Drop cloth
- Painters tape
To start this project, make a run to your local Goodwill or any other local thrift store. Go straight to the frame section, and trust me, there will be a HUGE frame section. It always amazes me what some people will throw away. Luckily, for me, they decided to recycle it instead :) Choose an assortment of frames with different textures and border widths. Don't worry about what they look like now..try to look past any ugly floral patterns or paint chipped frames, they will be beautiful when you are done with them! The one thing I do suggest is only choosing frames that still have the glass intact-you need frames with 'good bones.' First, take the frames apart leaving the glass separate so it doesn't get painted. Now grab a drop cloth so you can prepare for painting. I try to keep the pieces together so I know which frame went with which parts. You can even go as far as labeling them with a pencil before you take them apart. You want to have just the actual border part of the frame, but if the back stays attached you can just take out the glass and cover any area you don't want painted with painter's tape.

Bring your frame pieces to your drop cloth and cover with one coat of paint. Use even strokes so you avoid any drops of paint falling and glooping on the frame. I usually use spray paint because it is so much quicker but you can always use paint and a brush, too. Allow your frames to dry for at least an hour before applying another coat of paint. I recommend at least two coats so your frames are not splotchy.
Let all your frames dry overnight then re-assemble to see the magic you have made! Now all these matching frames are ready to be hung in your home! Don't you feel so proud of yourself?! Go enjoy and repeat :) These frames would look great over your
DIY headboard!
This is the paint I used for this project (I used whtite):


No comments:
Post a Comment