Showing posts with label #crafts. Show all posts

Saturday, June 8, 2013

DIY Shoots and Tunnels Car Garage

This project really became a favorite in my household.   Not only was this 'shoots and tunnels car garage' (as we call it) fun to make but it has also logged many hours in our household as favorite toy.  It is super easy to make,  completely made of recycled materials, and is a really sturdy toy that has really proven its durability.  Eli, my two year old, is so into cars right now. Really, anything with wheels that moves.  He has had more fun with this homemade contraption than with any other new toy he has acquired.  I feel good knowing that he can still appreciate the simple (and cheap) things in life. :)

Materials:
  • Soda 24 pack cardboard box
  • 3-5 paper towel/toilet paper rolls
  • scotch tape
  • scissors
  • paint
  • Hot glue gun (optional)
  • Stickers (optional)
   Start by deciding where you want your 'shoots and tunnels' to end up. Arrange them so the cars will end up in different places once out of the tunnels.  Think outside (or inside) of the box :) I cut two holes in our soda box so one tunnel could go through the box... I really scored some mommy points for this idea.
  Tape or hot glue the shoots and tunnels into place. I put tape around the outside of some of the rolls and some on each opening.

   Once you have all the shoots and tunnels you want, paint the entire thing with any color paint. We just used one color but you could also paint a scene, highway, etc. all over it if you child is a bit older and able to paint 'things.'

   We painted before nap time so it could dry for a few hours, then we added foam transportation themed stickers all over it....done! Our 'shoots and tunnels car garage' as Eli promptly called it was ready for action! 

   Eli still plays with this daily and we made it over a two weeks ago...it has also held up and so far (knock on wood) and I have not had to patch it up anywhere!

  Enjoy this fun, simple project and take the time to explain to your kids the importance of recycling and using our imagination! 


Wednesday, April 10, 2013

Recycled Alligator


My son had so much fun making this little guy. He loves learning about any kind of animal and especially loves painting new things so this was right up his alley. I had all the 'recycled parts' laying around so I was excited when this project came to mind. It's also a great opportunity to teach your kids the importance of recycling. My little guy got a brand new toy from practically nothing and he really enjoys making his alligator CHOMP CHOMP CHOMP!

Materials:
  • Half an Egg Carton
  • One Toilet Paper Tube (or half a paper towel tube)
  • Construction Paper  
  • Craft Glue (or hot glue gun)
  • Green Paint
  • Googlie Eyes
  Start by cutting your egg carton in half long ways to create the alligator's body. Now cut the two egg holders off of the top of the strand and keep them to use for the Alligator's eyes later.  Allow your child to paint the egg carton pieces and the toilet paper tube together.  We took a break to allow the parts to dry and ate lunch. It's hard to assemble when it's wet so I reccommend letting them dry first. You could always let your child color the 'parts' with marker if you are in a time crunch or just don't have the patience to wait :)
   When all the parts are dry, attach the eyes (the two egg holders) to the Alligator body (egg carton) by applying craft glue to the base of the eyes. Hold it in place for about 20 seconds until the glue sets.  Then attach the toilet paper tube to the eyes the same way.  Put two dots of glue on the eye egg holder and apply the googlie eyes wherever you think looks best.
   I created the alligator's legs and teeth from construction paper. Simply cut rough leg shapes out and glue to the underside of the alligator.  Cut a zig zag pattern from white construction paper and glue them to either side of the toilet paper tube, creating the teeth on the snout of the alligator. 
  Check out the alligator canvas on Etsy I made after being inspired by this project! Happy crafting!
   What are you going to do with the other half of your egg carton??? Why, make an Egg Carton Caterpillar of course!

Tuesday, March 26, 2013

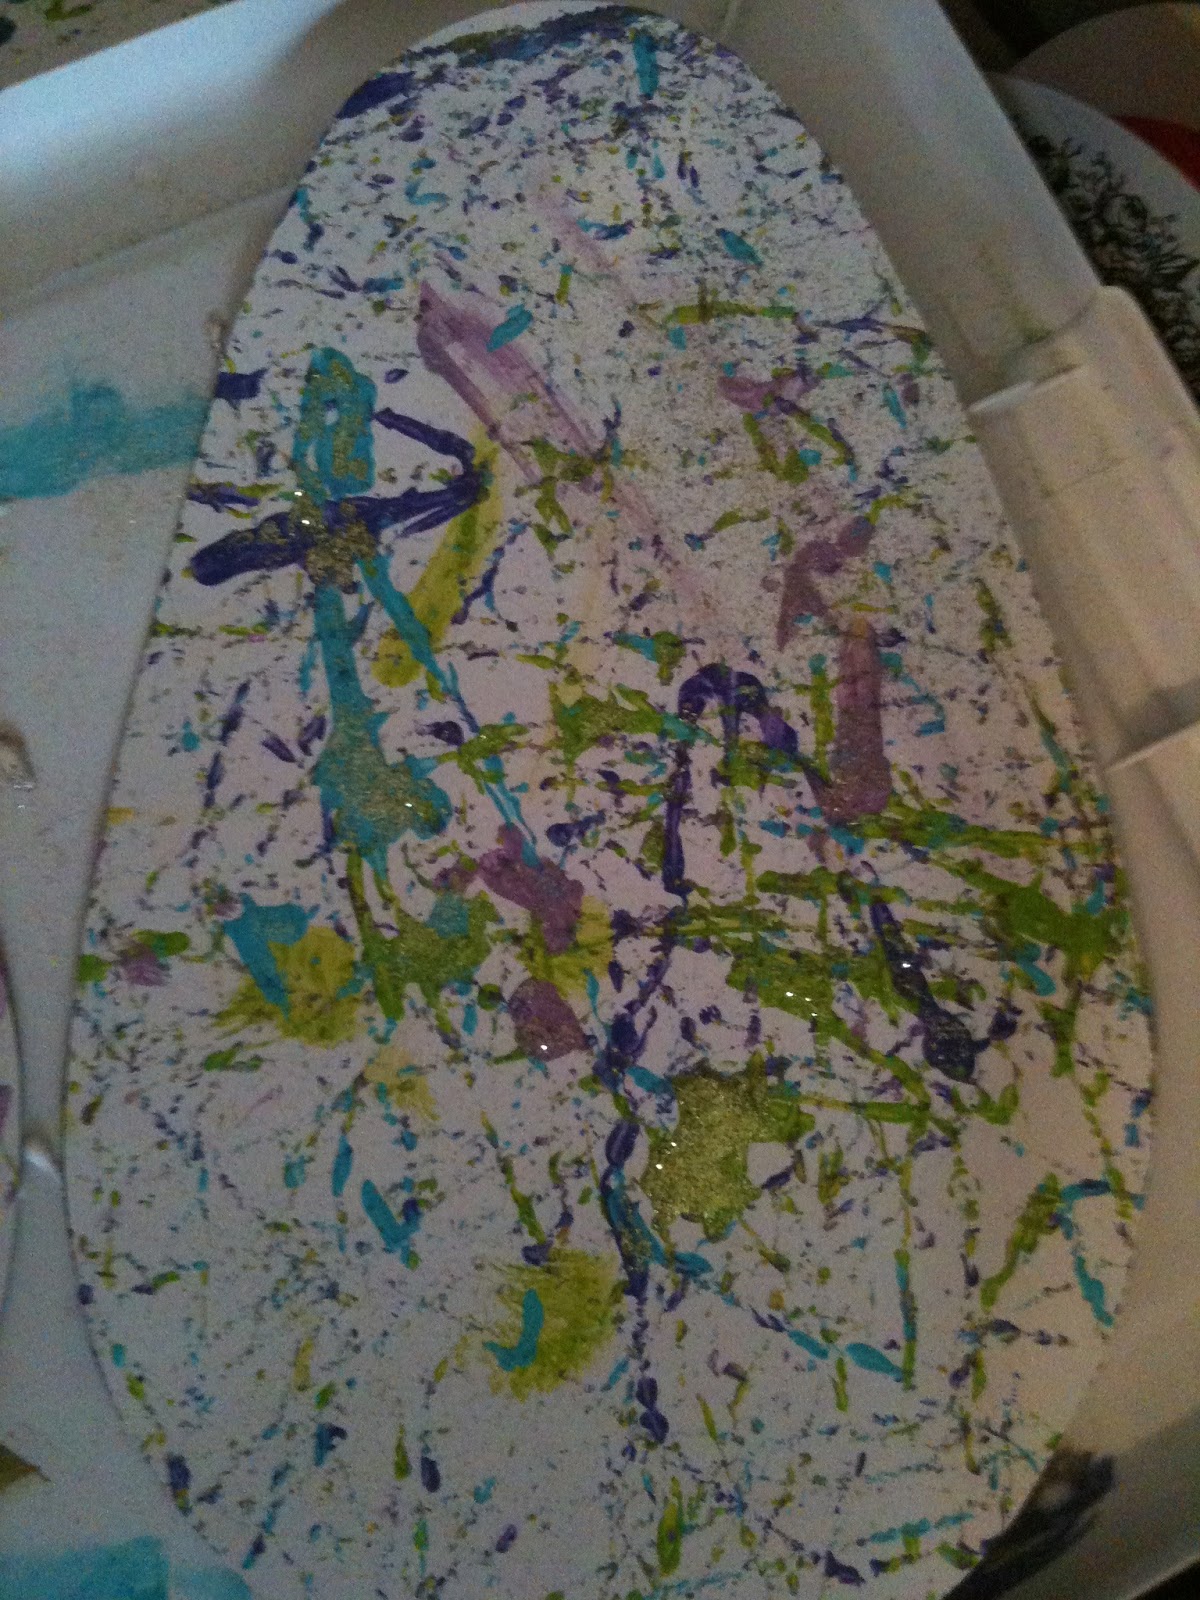
'Marble-ized' Easter Eggs


   This post is a little late, but you still have time to create these beautiful Easter eggs for your family and friends! Or you could use them as decorations like we did... either way this project is quick, easy to clean up and the end result is quite impressive :)

Materials:
  • White Construction Paper
  • Washable Paint (a few different colors)
  • Marbles (or beads)
  • Shoe Box
  • Glitter

   Cut an Easter egg shape out of your construction paper, don't worry, it doesn't have to be perfect!  Now place the paper egg into your shoebox. Set the box aside and get ready to use some paint.
   Choose 3-5 colors to use on your eggs. We used 'eastery' colors but you can pick colors you want.  Dip your marble or round bead into one color and drop it anywhere in the box.  Dip at least one marble into each color and drop each the box.
   Let your child move the box around so the marbles roll over the egg. (Watch the video to the right of my little man loving this project!) Continue rolling the marbles around until you are happy with the overall look of your egg.  If you want to add glitter, allow them to sprinkle any color glitter onto the egg when the paint is still dry. Voila! Now you have a beautiful Easter decoration!!!
   For another Easter egg project, use the same technique on another egg as I did on my Shaving Cream Fish Bowl!