Showing posts with label #diykids. Show all posts

Friday, November 22, 2013

Turkey Crafts!

  Thanksgiving is so close and most work places (and schools and day-cares) are closed for at least part of the week. If you are looking for some fun projects to do with the kiddos when they are home look no further! 
   We had so much fun at school this week with the 'turkey' theme. If you want more detailed instructions for any of these crafts, click on over to my facebook page!

Coffee Filter/Toilet Paper Roll Turkey


Handprint Turkey


 Paper Bag Turkey


Turkey Cupcakes


Paper Plate Turkey


Sunday, May 5, 2013

10 minute Binoculars!!!

    We made these binoculars on a day when I had a lot of house work and we needed to be inside for a while.  they are so easy to make and my son had a blast walking around 'looking for treasure' or 'discovering that squirrel outside the window' :) It's funny how something this simple can really spark their imagination!

Materials:
  • Two empty toilet paper rolls (or one paper towel roll cut in half)
  • String (long enough to fit very loosely around the child's neck)
  • Stickers, markers (anything to decorate) 
  • Hot glue gun 
   
This is such an easy, almost self explanatory craft. Allow your little one to decorate the toilet paper tubes and hot glue them together down the middle. Cut two small holes on either side of the tubes for the 'binocular strap.'  Tie the string on either side and you are ready to go exploring! 

Saturday, May 4, 2013

Home Made Bird Seed Patties!

  
    I have been looking for a 'bird seed patty' recipe that didn't include weird ingredients that I had to make an extra grocery trip for and I finally found it! This little project is great for those rainy days when you can only paint and craft for so long... my little guy loves using mixing bowls and spatulas and adding ingredients to the pot. He also loves to watch the birds from our back window- guess I shouldn't use saying 'killing two birds with one stone' in this post but we really did :)  hehe Enjoy the home made birdie patties, everyone!

Materials:
  • 4 cups bird seed
  •  3/4 cups flour
  • 1/2 cup water
  • 3 tablespoons corn syrup (I used light and it worked just as well.)
  • Twine or String
  • Cookie Cutters (I found that the larger ones work best.)
  • PAM Spray (or any brand.)
  • Aluminum Foil
  • Plastic Straws
    I like to pre-measure all of my ingredients so they are all ready for my little helping hands to toss into the bowl. I find the more time I involve him the more interested he is.  So allow your little ones to combine all of the ingredients: bird seed, flour, water and corn syrup.  Stir the mixture until the entire bowl is moistened.
   Line a cookie sheet with aluminum foil and spray the foil with your cooking spray. Place the cookie cutters on the cookie sheet and also spray the inside of each cutter, this will allow for easy patty removal in the end.
   Pack the cookie cutters to the brim using a spoon or a spatula and push on them to ensure the mixture has made it into all the nooks and crannies.
   Once you have used all of the bird seed mixture, use a straw to poke a hole near the top middle of each patty, you will have to manuver it back and forth to get it the whole way through.  Cut the straw up and leave  a small part of the it in each cutter so the hole wouldn't close up over night.
   Periodically pack the mixture down in each cutter so your patties will stay together longer once they are hanging outside.
  Once they have dried and are hard, pop them out of the cookie cutter and string them up where ever you want to see more birds! Ours only lasted a few days because the birds loved them so much! Next time I will only put a few outside at a time :)
   This recipe will make about 2 dozen normal size cookie cutter patties,
you can cut all the ingredients in half to make a dozen if you don't want to use that much bird seed... but remember they make cute little gifts for the grandparents!
  

Wednesday, April 10, 2013

Recycled Alligator


My son had so much fun making this little guy. He loves learning about any kind of animal and especially loves painting new things so this was right up his alley. I had all the 'recycled parts' laying around so I was excited when this project came to mind. It's also a great opportunity to teach your kids the importance of recycling. My little guy got a brand new toy from practically nothing and he really enjoys making his alligator CHOMP CHOMP CHOMP!

Materials:
  • Half an Egg Carton
  • One Toilet Paper Tube (or half a paper towel tube)
  • Construction Paper  
  • Craft Glue (or hot glue gun)
  • Green Paint
  • Googlie Eyes
  Start by cutting your egg carton in half long ways to create the alligator's body. Now cut the two egg holders off of the top of the strand and keep them to use for the Alligator's eyes later.  Allow your child to paint the egg carton pieces and the toilet paper tube together.  We took a break to allow the parts to dry and ate lunch. It's hard to assemble when it's wet so I reccommend letting them dry first. You could always let your child color the 'parts' with marker if you are in a time crunch or just don't have the patience to wait :)
   When all the parts are dry, attach the eyes (the two egg holders) to the Alligator body (egg carton) by applying craft glue to the base of the eyes. Hold it in place for about 20 seconds until the glue sets.  Then attach the toilet paper tube to the eyes the same way.  Put two dots of glue on the eye egg holder and apply the googlie eyes wherever you think looks best.
   I created the alligator's legs and teeth from construction paper. Simply cut rough leg shapes out and glue to the underside of the alligator.  Cut a zig zag pattern from white construction paper and glue them to either side of the toilet paper tube, creating the teeth on the snout of the alligator. 
  Check out the alligator canvas on Etsy I made after being inspired by this project! Happy crafting!
   What are you going to do with the other half of your egg carton??? Why, make an Egg Carton Caterpillar of course!

Tuesday, March 26, 2013

'Marble-ized' Easter Eggs


   This post is a little late, but you still have time to create these beautiful Easter eggs for your family and friends! Or you could use them as decorations like we did... either way this project is quick, easy to clean up and the end result is quite impressive :)

Materials:
  • White Construction Paper
  • Washable Paint (a few different colors)
  • Marbles (or beads)
  • Shoe Box
  • Glitter

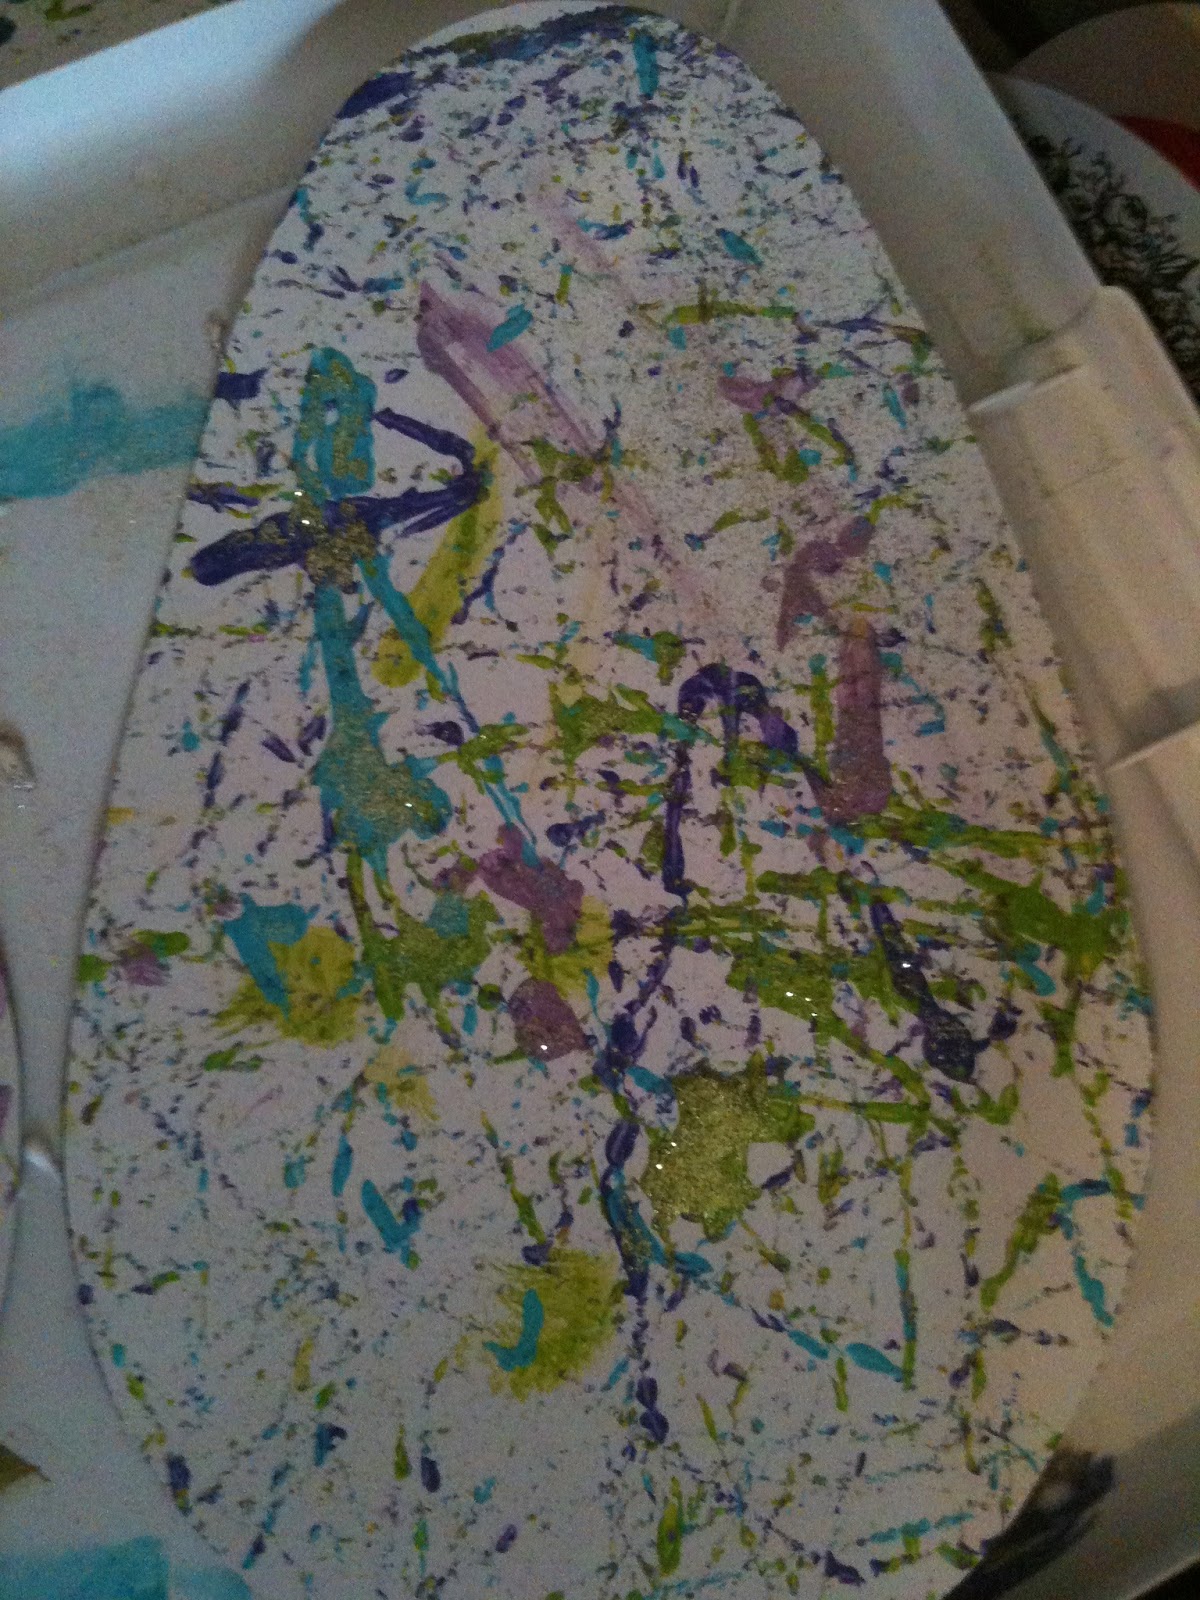
   Cut an Easter egg shape out of your construction paper, don't worry, it doesn't have to be perfect!  Now place the paper egg into your shoebox. Set the box aside and get ready to use some paint.
   Choose 3-5 colors to use on your eggs. We used 'eastery' colors but you can pick colors you want.  Dip your marble or round bead into one color and drop it anywhere in the box.  Dip at least one marble into each color and drop each the box.
   Let your child move the box around so the marbles roll over the egg. (Watch the video to the right of my little man loving this project!) Continue rolling the marbles around until you are happy with the overall look of your egg.  If you want to add glitter, allow them to sprinkle any color glitter onto the egg when the paint is still dry. Voila! Now you have a beautiful Easter decoration!!!
   For another Easter egg project, use the same technique on another egg as I did on my Shaving Cream Fish Bowl!

Sunday, March 24, 2013

Recycled Train!


This week I took my little guy to a The Train Museum. Ok, it was actually called The Southern Museum of Civil War & Locomotive History, but we call it the Train Museum in our house, for obvious reasons.  "We" are obsessed with trains. My husband found this site when we were looking for new parks to visit and thought Eli would love it. He did. We spend over 3 hours there! They even had a mommy and me class that we attended (free with museum admission) and loved every second of it! The class teacher, Mr. Ken, is a former kindergarten teacher and was absolutely great at keeping the kids attention. Always a plus when you are attending any kind of class like that, especially with a two year old. 
  We learned and sang about the parts of the train, saw what made the train move, climbed on a foam train and we even made a recycled train at the end of the class. I was most impressed with the craft train. You know I love a good craft, but I love a good recycled craft even more :)  We will definitely be attending many more classes at The Train Museum that is for sure! If you are in the Kennesaw, Ga. area I highly recommend you stop by for a visit, especially on a Thursday when they are having the train class!


   Materials:

  • Small Cardboard box (Tea Bag boxes are great)
  • Toilet paper roll
  • Wine cork
  • Black construction paper (any color will do if you don't have black)
  • Half an egg carton
  • Paper plate
  • Washable Paint
  • Paintbrush
  • Crafter's Glue/ Hot Glue
  • Scotch tape


   Start by cutting your egg carton in half with a long, serrated knife.  Tape both sides together so your train body will stay intact when you are painting in the end.  Next, cut your box in half using the same large knife. This is obviously a job for a grown up before they kids are involved :)  I like to get all of my 'supplies' together before we sit down so I don't end up with a frustrated little boy.  The last 'prep step' is cutting a triangle out of a paper plate. If you have a small paper plate you can just quarter it and use one of the pieces for your 'cow-catcher' on the front of the train.
  Now that the prep is done you can get your little one involved. Using the crafter's glue, attach the Tea Box to the top of the upside-down egg carton.  I like crafter's glue because it dries faster than Elmer's but is still safe for them to use...with supervision. Hold the box in place for about 15 seconds to let it set. Count out loud and encourage your kids to count with you.  Eli is really into counting now so he digs this part.
   Next, attach the toilet paper roll to the top of the train body, or egg carton. Hold it for about 15 seconds. 
   Attach the quarter piece of paper plate to the front of the train using scotch tape. The teacher called this a 'cow catcher' at the mommy and me train class, but it is actually called a 'cow killer' as one of the other moms so eloquently put it...adding that our kids are to sheltered these days. I just shook my head and quietly agreed as I turned by chair back around :)
  Now attach the wine cork to the center of the toilet paper roll using some more craft glue. Hold it for a bit longer, maybe 25 seconds,  so it can dry and will stay put. 
   The last step to assembling the train is adding the wheels. Cut small circles out of black construction paper, or any color you have on hand, and glue them to the bottom of the train. We used 3 or 4 on either side.
   Let your train dry for a few minutes before you start to paint. Let your child choose a few colors for their train and let them paint it all over. We chose red and blue because Thomas is blue and Norman is red :)  I was so pleased with the end result and so was Eli. He gave this to his Daddy to take to work to show off to his buddies.
   If you are feeling REALLY crafty, check out this recycled train!