Materials:
- Thrift store frames in good condition
- Spray paint (I used Krylon metal spray paint)
- Acrylic paint
- Thick Paper ( I used dry cleaner cardboard inserts)
- Photos
- Scotch Tape
- Painter's Tape
 Start by taking apart your frames. If you are using a grouping with several different size frames, make sure you keep the 'parts' of each frame together so it is easier to assemble them at the end. Separate the actual frame from the backing and glass and clean it with a damp paper towel to remove any dirt. Spray paint the frames any color. I suggest doing at least two coats, depending on what shade you are trying to paint them they may need additional coats for 100% coverage. Wait at least 15 minutes in between coats and apply a light dusting rather than a soaking. If you apply too much spray paint at once it will drip and not look very cute :)
For the background of the frame, use painter's tape to create a striped pattern. I chose a chevron pattern so I taped my paper off in a diagonal direction, you could also do vertical or horizontal stripes just as easily. Smooth the painter's tape so there are no leaks and paint over it using acrylic paint. I just used one thick coat of acrylic for this step becuase I was looking for a 'worn out' look. If you want the stripes to be solid, paint two coats of acrylic and wait at least 30 minutes in between coats.
 Slowly peel the tape away from the paper once the paint has completely dried. If you try to rip the paint off too quickly you may pull chunks of paint off.
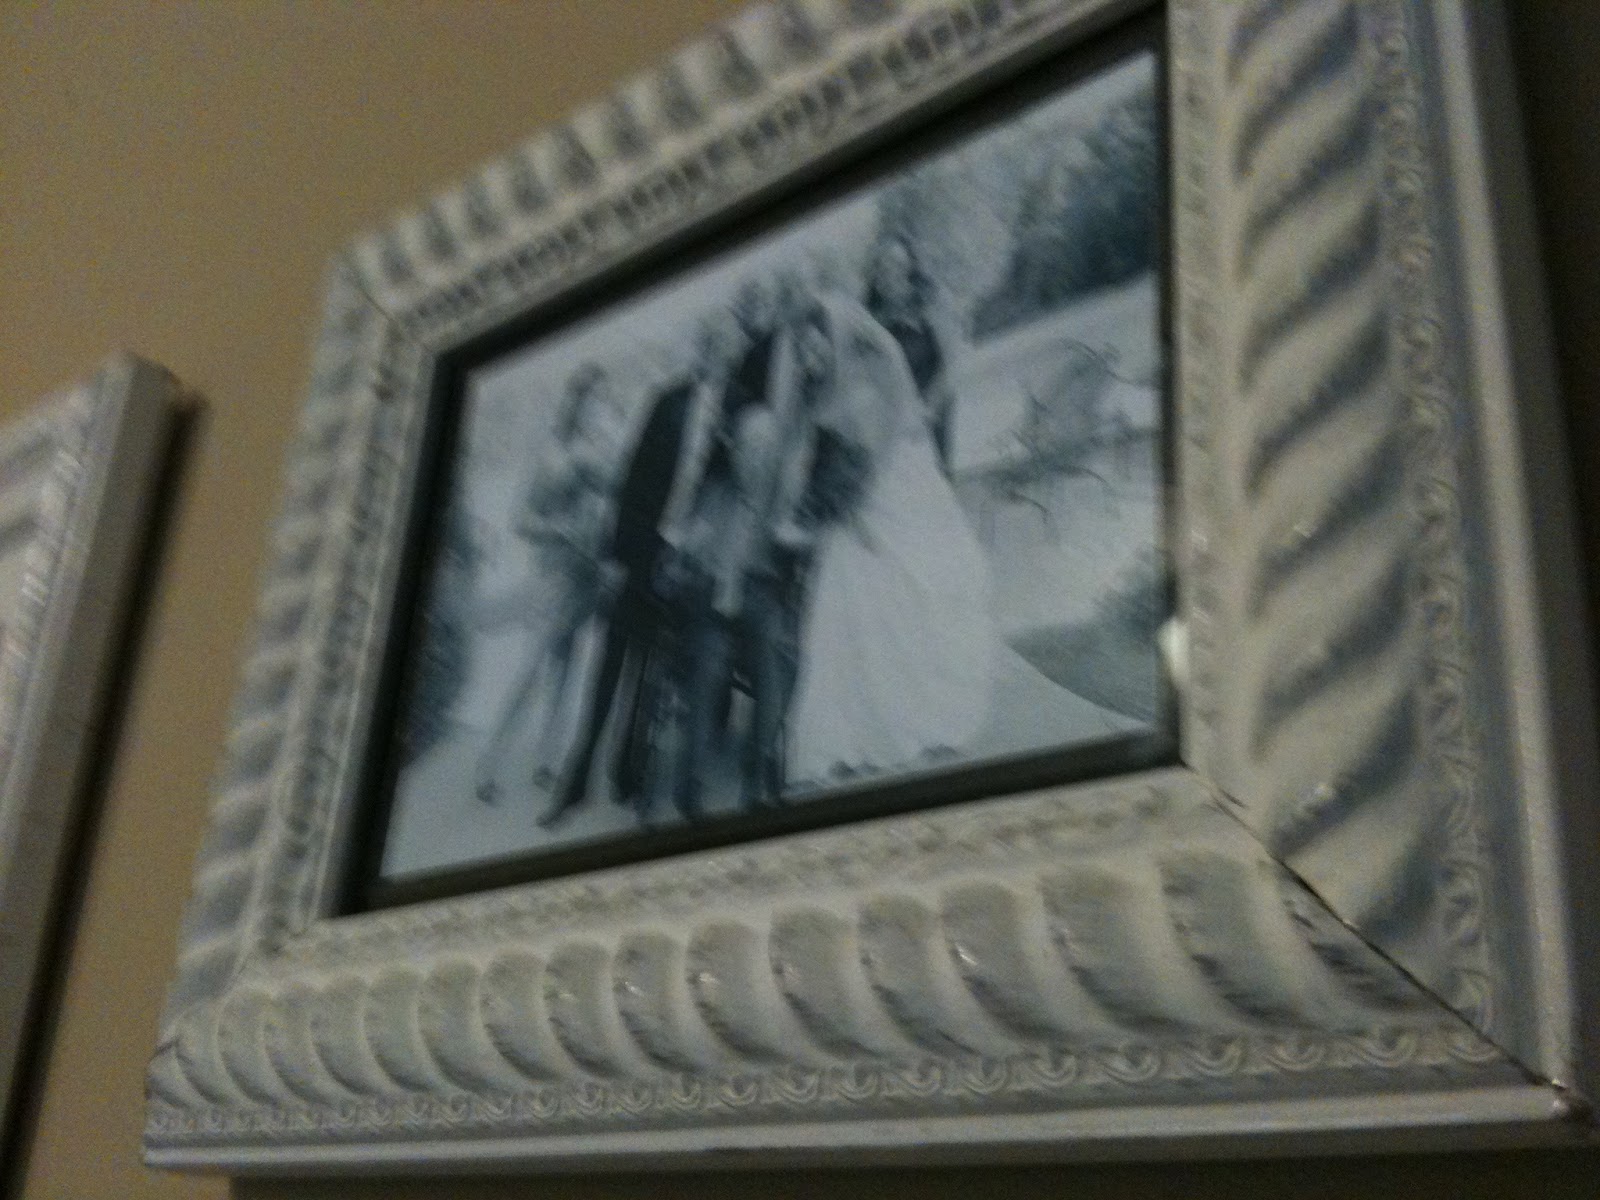
Now choose the pictures you want to display and secure them to the center of your patterned paper using scotch tape. Re-assemble your frames and oogle at your accomplishments!
My grouping of eight (8.5"x11") custom frames only cost me about $8 :) How can you not be happy about that?!?!?!
Don't want to take the extra step of creating your own background? Check out my Repurposed frames post and discover how easy (and cheap!) it is to create a beautiful photo grouping!