Showing posts with label #recycledart. Show all posts

Friday, November 22, 2013

Turkey Crafts!

  Thanksgiving is so close and most work places (and schools and day-cares) are closed for at least part of the week. If you are looking for some fun projects to do with the kiddos when they are home look no further! 
   We had so much fun at school this week with the 'turkey' theme. If you want more detailed instructions for any of these crafts, click on over to my facebook page!

Coffee Filter/Toilet Paper Roll Turkey


Handprint Turkey


 Paper Bag Turkey


Turkey Cupcakes


Paper Plate Turkey


Saturday, May 18, 2013

Thrifted Toy Storage


    I have been buying and painting furniture from the thrift store for as long as I can remember. My favorite piece I got before going off to college, where I knew I would have my own space to design and fill. I bought a vintage school desk and painted it orange and left on the old flowery knobs. I still have this piece of furniture, after many different coats of paint and several knob changes, it sits in my son's room and once served as his changing table. I love to give things a new look.... when you're decorating on a budget (and don't want plastic furniture) this is the perfect way to transform a space. You are also doing a solid for mother earth-you should always consider buying a 'used' or as I like to call is 'seasoned' piece of furniture. Not only are you being green, but you will feel so good once you have completed a great project for your own home, all by yourself :)


Materials: 
  • one piece of used or 'seasoned' furniture
  • Paper towels and cleaner
  • Paint color of choice (I used 1/2 a can for this piece.) 
  •  Medium size brush
  • New knobs
    First choose your piece of furniture. I knew I needed more storage in my son's playroom.    I was looking for something with a few drawers, that wasn't too tall, he's a climber.  I found this old t.v. cabinet and it was missing the top drawer. Because of this it was marked down to $7. I SAID SEVEN DOLLARS, PEOPLE! Usually, I would expect to pay around $15 or so for a piece this size, still way cheaper than new!  

    I always wipe down the surface of any thrift furniture I buy.  You never know where it has been or who has touched it, so I always recommend washing off your thrift finds before you begin painting, or using it even if you don't paint it.
   Now remove the old knobs. Even if you don't plan on replacing the knobs (some do come with pretty hardware) still remove them so you don't get paint on them.  They could also use a good wash if you plan on using its original hardware. If you like the knobs but not the color, why not paint them, too? They make specific spray paint for metal-go for it!
   Paint the furniture with a good quality paint. I had Behr interior paint left over so I used the rest of that. Don't try to use left over 'craft' paint like acrylic or oil. It will just end up chipping and wearing over a short period of time and then all your hard work will be ruined!
   Let your first coat dry overnight and give it a second coat once you are sure the first is completely dry.

   Replace the knobs after you give it another night to sit and dry. I also found these knobs at Goodwill. I paid $2.94 for a bag of about 30 knobs. What. A. Deal.  I've already used these on several different pieces around the house. You never know what people will get rid of :)
   Lastly, stock pile those drawers and enjoy the new storage and newly found floor space! We use ours as a garage. That's where all of Eli's cars 'live' and he knows where to put them all when it's clean up time! I put two large baskets in the 'empty drawer' and even stored puzzles in bewtween them :) Enjoy your recycled storage, we do!!!!


Here are some knobs I love :)


Wednesday, April 10, 2013

Recycled Alligator


My son had so much fun making this little guy. He loves learning about any kind of animal and especially loves painting new things so this was right up his alley. I had all the 'recycled parts' laying around so I was excited when this project came to mind. It's also a great opportunity to teach your kids the importance of recycling. My little guy got a brand new toy from practically nothing and he really enjoys making his alligator CHOMP CHOMP CHOMP!

Materials:
  • Half an Egg Carton
  • One Toilet Paper Tube (or half a paper towel tube)
  • Construction Paper  
  • Craft Glue (or hot glue gun)
  • Green Paint
  • Googlie Eyes
  Start by cutting your egg carton in half long ways to create the alligator's body. Now cut the two egg holders off of the top of the strand and keep them to use for the Alligator's eyes later.  Allow your child to paint the egg carton pieces and the toilet paper tube together.  We took a break to allow the parts to dry and ate lunch. It's hard to assemble when it's wet so I reccommend letting them dry first. You could always let your child color the 'parts' with marker if you are in a time crunch or just don't have the patience to wait :)
   When all the parts are dry, attach the eyes (the two egg holders) to the Alligator body (egg carton) by applying craft glue to the base of the eyes. Hold it in place for about 20 seconds until the glue sets.  Then attach the toilet paper tube to the eyes the same way.  Put two dots of glue on the eye egg holder and apply the googlie eyes wherever you think looks best.
   I created the alligator's legs and teeth from construction paper. Simply cut rough leg shapes out and glue to the underside of the alligator.  Cut a zig zag pattern from white construction paper and glue them to either side of the toilet paper tube, creating the teeth on the snout of the alligator. 
  Check out the alligator canvas on Etsy I made after being inspired by this project! Happy crafting!
   What are you going to do with the other half of your egg carton??? Why, make an Egg Carton Caterpillar of course!

Tuesday, March 26, 2013

'Marble-ized' Easter Eggs


   This post is a little late, but you still have time to create these beautiful Easter eggs for your family and friends! Or you could use them as decorations like we did... either way this project is quick, easy to clean up and the end result is quite impressive :)

Materials:
  • White Construction Paper
  • Washable Paint (a few different colors)
  • Marbles (or beads)
  • Shoe Box
  • Glitter

   Cut an Easter egg shape out of your construction paper, don't worry, it doesn't have to be perfect!  Now place the paper egg into your shoebox. Set the box aside and get ready to use some paint.
   Choose 3-5 colors to use on your eggs. We used 'eastery' colors but you can pick colors you want.  Dip your marble or round bead into one color and drop it anywhere in the box.  Dip at least one marble into each color and drop each the box.
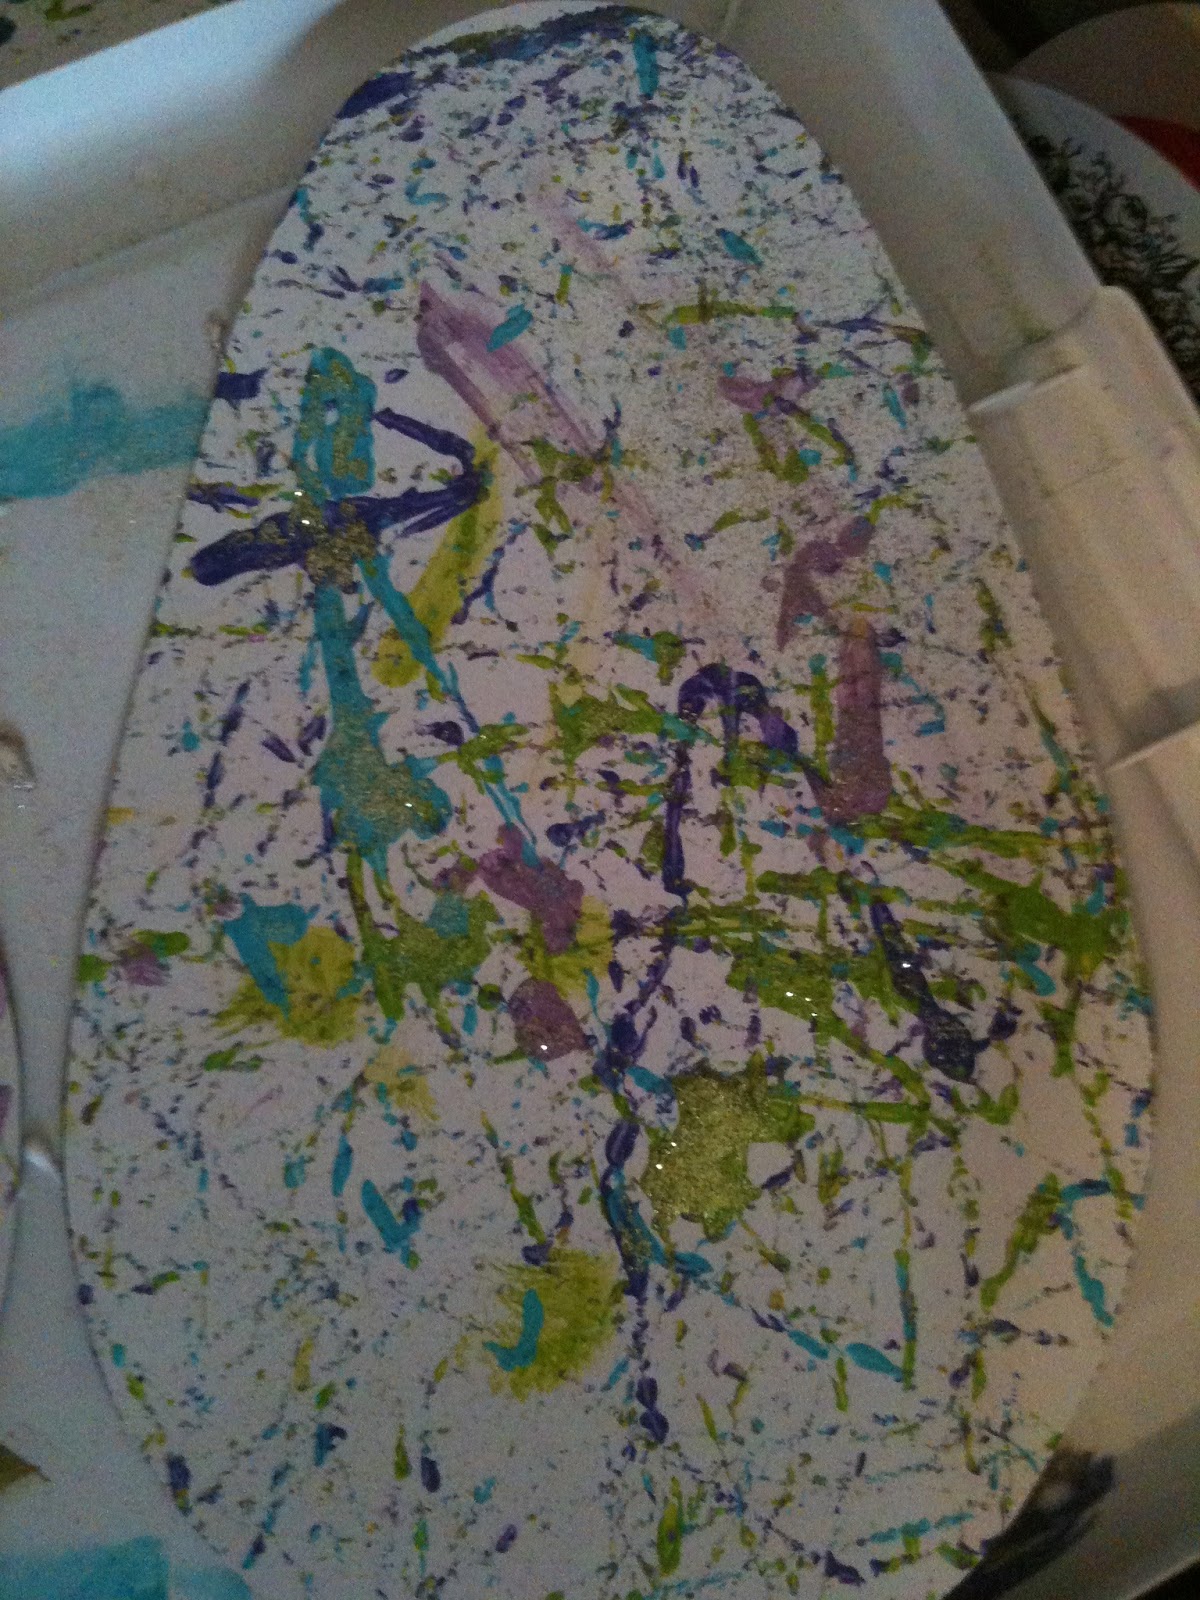
   Let your child move the box around so the marbles roll over the egg. (Watch the video to the right of my little man loving this project!) Continue rolling the marbles around until you are happy with the overall look of your egg.  If you want to add glitter, allow them to sprinkle any color glitter onto the egg when the paint is still dry. Voila! Now you have a beautiful Easter decoration!!!
   For another Easter egg project, use the same technique on another egg as I did on my Shaving Cream Fish Bowl!

Thursday, February 28, 2013

Magnetic Cookie Sheet

   Any parent can benefit from this trick! Have you ever found yourself gripping the stearing wheel just a little too tight when your kids ask 'are we there yet' for the fiftieth time? I'm guilty of it on several occassions, but really, can we blame them? I get bored, too! This  project will give them a new, exciting activity to play with in the car. And who knows...maybe it will buy you 30 more minutes of silent riding :)

Materials: 
  • Old cookie sheet
  • Several matchbox cars (If you have them, use the rejects that are missing wheels. )
  • Magnetic strips
  • Hot glue gun (and glue sticks.)
  • One car-crazy child
   As I have said before, my son LOVES car.  Any project I can think of that will include his obsession is fine with him. This activity not only provides entertainment in the car but it also helps to improve his hand eye coordination.  
   First cut the magnetic strip into 1/2" sections and reserve two for each car. Peel the sticky backing off of the magnet strip and squirt a pea size amount of hot glue onto the sticky part of the magnet. 
   Attach the magnet pieces of magnet onto the flattest part of the underside of the car. In my case, it was most flat in between both sets of wheels. If it works better on a particular car to use a bigger strip in the middle, do so. Let your magnetized cars dry for at least 15 minutes to ensure the magnet won't come off...Be careful if you are using this activity for small kids who are still interested in 'eating' toys.
   Now you are ready to attach the cars to the cookie sheet! Your kids will love to play with their new toy...even with all the new colorful plastic toys out there, my son still prefers a good home-made invention any day :) I knew he was mine!
   You could also use your coffee filter butterflies on the cookie sheet as well! Think outside the box to come up with new 'magnet' ideas....glue magnet strips to pipe cleaners to create 'roads,' or use shells you found at the beach as a different shape for them to explore! The options are endless! Go try out your new invention with a nice, long car ride!

 *To make things even easier, check out this magnetic tape! (I still suggest using hot glue to adhere to toys.)


Tuesday, February 26, 2013

Coffee Filter Butterflies


My little man lovvvved this project. It was pretty simple and doesn't make too big of a mess. I like multi-step projects like this every once in a while because it really teaches Eli to work on his patience while exploring an new medium.  These coffee filter butterflies can be made with things you have on hand and are really cute hanging on the fridge!
  
Materials:
  • Coffee filters
  • Washable watercolors 
  • Pipe cleaners
  • Glue gun
  • Magnet sticker strips
  • Old plate/tupperware
  • Paintbrush 
  • Paper bag 
  • Tongue depressors 


   I always loved a technique similar to this when I worked as a preschool assistant so I just tweeked it a little bit so we could do it at home.  Start by finding an old plate or tupperware container you don't mind getting paint on...it will wash off in the end so I just used a normal plate we had in the cabinet.  Grab the coffee filters, too. You need 1-2 filters for each butterfly so grab accordingly.  Flatten the coffee filter onto the plate and have your watercolors ready.
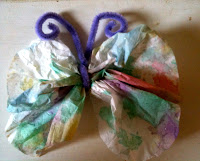
  Let your child paint the coffee filter with the watercolors. The filter will get soaked in paint and at some point you have to stop your child and give them a new filter.  Put the wet coffee filters on a paper bag to dry, I find the paper bag soaks up the excess water the best and doesn't stick to the wet filter...you could also use paper towels.
  If you want to make a butterfly without magnets, fold a pipe cleaner in half, gather the filter in the middle, and wrap the pipe cleaner around the middle. This is the butterfly's antenna.
  If you want to make a butterfly that will go on the fridge, gather two filters and hot glue the centers to a tongue depressor.  These are the butterfly's wings, put them close together or far apart...where ever you child thinks looks best :) We did a few of both.
  Now bend a pipe cleaner in half leaving a small loop at the bottom to attach to the tongue depressor. This is the antenna. Attach the antenna to the topside of the tongue depressor with your hot glue gun, on the same side you previously glued on.
   Once the glue on the wings and antenna is dry, cut two, one inch strips from a magnet sticker strip. Peel the backing off of the magnets and apply glue to the areas on top of both wings. (see pictures.) Place the magnet pieces on top of glue and allow it to completely dry.
   All you have to do now is stick them to the fridge, or make more! We made extras while we had all of the supplies out because I plan on using them as gift toppers! Cute, right?!
   If you really want to get into it, check out my egg carton caterpillar to explain to your kids how a butterfly is born! Or, make a packing peanut painting of a caterpillar!


Repurposed Frames

   This is another project that I have been doing for years. It's so easy and will really save you a TON of money. All you need are old frames, or frames purchased from the thrift store, and some paint. I love to group a bunch of pictures together, but that can get pretty expensive. This idea,  takes so little time and money and  will give you a beautiful arrangement of pictures you can be proud of!


Materials:
  • Spray paint (or any kind of permanent paint.)
  • Assortment of thrift store frames
  • Drop cloth
  • Painters tape  

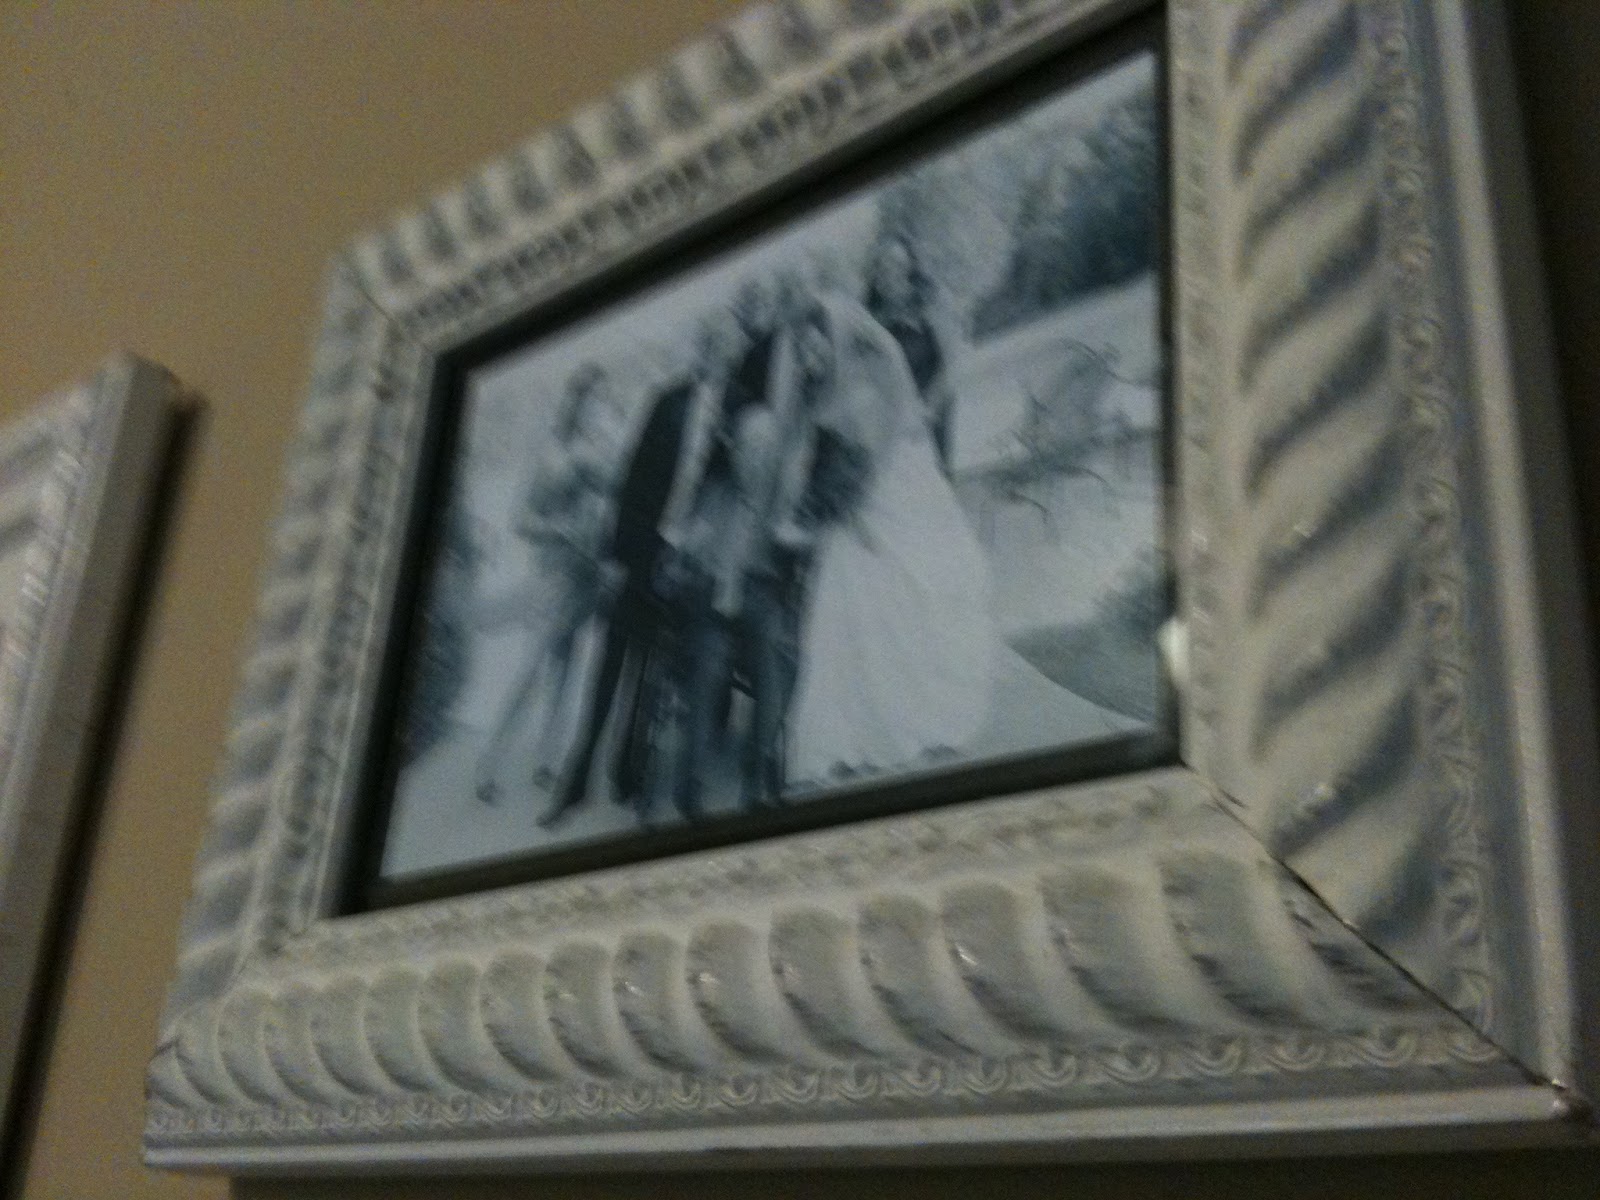
   To start this project, make a run to your local Goodwill or any other local thrift store.  Go straight to the frame section, and trust me, there will be a HUGE frame section. It always amazes me what some people will throw away.  Luckily, for me, they decided to recycle it instead :)  Choose an assortment of frames with different textures and border widths. Don't worry about what they look like now..try to look past any ugly floral patterns or paint chipped frames, they will be beautiful when you are done with them! The one thing I do suggest is only choosing frames that still have the glass intact-you need frames with 'good bones.'   First, take the frames apart leaving the glass separate so it doesn't get painted.  Now grab a drop cloth so you can prepare for painting.  I try to keep the pieces together so I know which frame went with which parts.  You can even go as far as labeling them with a pencil before you take them apart.  You want to have just the actual border part of the frame, but if the back stays attached you can just take out the glass and cover any area you don't want painted with painter's tape.

  Bring your frame pieces to your drop cloth and cover with one coat of paint. Use even strokes so you avoid any drops of paint falling and glooping on the frame. I usually use spray paint because it is so much quicker but you can always use paint and a brush, too. Allow your frames to dry for at least an hour before applying another coat of paint. I recommend at least two coats so your frames are not splotchy.
  Let all your frames dry overnight then re-assemble to see the magic you have made! Now all these matching frames are ready to be hung in your home! Don't you feel so proud of yourself?! Go enjoy and repeat :) These frames would look great over your DIY headboard!
 

This is the paint I used for this project (I used whtite):


Monday, February 25, 2013

Packing Peanut Paintings

Sometimes painting on a flat piece of paper gets old.  Try this smart trick to give your kids a new sensory experience. Packing peanuts are good for so many crafts and people are so quick to throw them away! So save those peanuts!  One day your kids will get stir crazy and you will need a new project for them to pour themselves into.

Materials:

  • Packing peanuts (hopefully left-overs from a package but if not you can buy them cheap.)
  • Thick paper (I used dry-cleaner shirt boards.)
  • Kid's glue
  • Any size paintbrush
  • Washable paint
  • Sharpie

   Start by choosing the paper you are going to use.  We save the cardboard pieces the dry-cleaner uses when they wrap up your shirts, they are great for so many craft projects.  As a matter of fact, you should start a 'craft scrap' bin in your house somewhere.  We save all of our scraps and store them in a big basket that we call our 'supply box'. Eli loves sorting through it and it's fun to figure out what to make out of your 'left-overs'.
   Now grab your packing peanuts. Glue them to the board in any shape you want.  We did a snake and a rainbow. They were the first things that came to my mind, but you could do any animal outline or shape. This is a great holiday craft, too...snowmen for Christmas, shamrocks for St. Patrick's Day, flower's for Mother's Day, there are so many options!

   Let your packing peanuts dry for a few hours and come back to the project ready to paint.  Use any size paintbrush and let your kids paint the packing peanuts and the surrounding paper/board.  This is a cool new thing for them to paint and it will be exciting for them to experience a new technique. Explain to them the difference in texture, the sounds it makes when they paint over it, etc.  Texture is a difficult thing for kids to understand so this is a great opportunity for them to learn something new!
   Once the paint is dry, use your sharpie to label what they drew.  When you label it, spell it out-loud and your kids to spell it back to you.  Having the name of their drawing right next to it will be effective recognition and it will help them when they learn to read.
  Enjoy your kids and help expand their imagination! They are never to young to craft!


Re-purposed Head Board!

I love, love, love turning thrift store finds into functional pieces of art.  My guest room has sat empty since we've moved in (I'm not going to admit we've been here over a year) and I figured with our first overnight guests coming it could use some sprucing up!  This project is so simple it hurts me to think how much people are spending on store bought head boards!  Just a few simple steps and you can have this gem for your home, too!
   
Materials:

  • one old fireplace mantel (purchase from the thrift store if possible!)
  • one can of any color spray paint
  • hammer
  • sand paper
  • nails
   I started this project by high-jacking this awesome old fireplace mantel that was just sitting in my parents basement.  I was so excited when I saw it sitting there and even more so when I got the go ahead to take it.  My brother and I now both live very close to our parents home.   This is not the house where we grew up so all of our left-over childhood trinkets are packed into brown boxes and stored in my parents massive basement.   This is kind of a sticky subject in their house...so needless to say, almost every time we leave family dinner on Sunday night, we leave with a few boxes and some random clutter my dad wants to get rid of. I love this. My parents both work full time so they don't have time to do all the DIY projects like I do. Another plus for me :)

Sunday, February 24, 2013

Recycled Race Car

   This recycled race car will give you hours of enjoyment and will double as a toy box when your kids are done with it!  It was another rainy day when thought of  this old favorite.  Like any boy, my little guy LOVES to 'play cars'.  It doesn't matter how old, beat up or how many missing wheels there are-a car is a car to a two year old.

Materials:

  • One cardboard box (usually the grocery or liquor store will give you one, or several, if you just ask!)
  • Spray Paint (you only need one color, and any you have on hand is fine.)
  •  Two paper plates (Styrofoam works, too.)
  • Black sharpie
  • Washable markers
  • Crayons
  • Stickers (we used 'transportation' themed stickers but any kind will do.)
  • 4 Brads (if you don't have these, and don't want to make a special trip for them, you can use glue instead.) 
  • One excited kid!

Saturday, February 23, 2013

Silly Monster Party Favor!

   
    I recently started planning kids parties and I must say it is soooo much fun. I loved being able to use my talents to really go all out on a themed party. I was able to create fun activities,  invitations,  party accessories, thank you notes and a birthday banner! This was a party for my good friend's little guy, Graham, who was turning one. She kept telling me not to out-do myself but it is so hard when all these ideas are running through my brain! Check out my Etsy shop for printables  and decor to instantly customize your kid's next party!

Materials:

  • Chinese-take out container
  • Pipe cleaners (any color.)
  • Foam paper (any color.) 
  • Sharpie
  • Googlie eyes
  • Hot glue gun (or Elmer's)
  • Easter grass (any color.)
   One of the first things I thought about was the party favors. That was always my favorite part a birthday party growing up, so I knew I wanted to do something awesome for the kids that would also coordinate with the theme.  So this little monster was born :) I used them as party favors but you can just as easily make a few for your kids to play with at home. We still have ours that my son uses to tote things around in. He loves it.
   I found these great little chinese take-out containers at the dollar store in a 4-pack....Yes, 4 for a $1! How can you beat that?! They even came with the handle attached-score!
   I started by filling them up with candy, stickers, erasers, the typical party favor loot. After they were all filled I added the googlie eyes with my hot glue gun. You can glue them on with Elmer's but I didn't have the patience to wait for them to dry- I was making a bunch so it was easier to use the faster drying glue on my assembly line.  Make sure you add extra eyes on some and give some a single, centered eye. These are monsters so they shouldn't all look the same :)
   Once all the eyes were in place I used a sharpie to draw on the faces. If you don't feel so confident in your monster-face making abilities, Google it to get some ideas.  Now you are ready for the feet.

   Use any type of foam paper to cut out the monster feet. Any shape will do and there is no need to trace a shape before you cut it out, monster feet are supposed to lop sided. I used a shape that looked like a heart with an extra bump in the middle, pretty simple to cut in mass quantities. You can place a few sheets on top of eachother to cut more than one out at a time; this is convenient if you are using them as favors.  Then, add toenails with a contrasting sharpie color. Attach the feet with hot glue (or Elmer's, it will need to sit to dry) and stick them to the underside of the take out container.
  Now it's time for the antennas. Cut a full size pipe-cleaner in half and wrap the end 2-3 inches around a pencil to give it a little swirl.  Slide the pipe-cleaner off the end of the pencil and attach it to the side of the container by using hot glue. I glued my antennas in between the two flaps on top so you wouldn't see the glue.

  The last step is what really gives these monster's their character.  Add their wild hair by placing a large area of glue on the top of the closed container.  Wod up a tennis ball size of easter grass and push it into the center of the glue. Hold for a second, and re-arrange the hair so most of it is sticking to the glue. Easter grass is so long that you don't have to worry about every inch of the grass sticking. You may have a few stragglers that didn't quite stick, just blow on the monster once the glue is dry and the excess hair will fall off. That's all, folks!
   Now you have a silly monster tote! Let your kids make multiple monsters for even more fun or check out the other projects I did for this party HERE! 


Here are some more monster party decor ideas!