Showing posts with label #glitter. Show all posts

Tuesday, May 28, 2013

Super Fab Art Display Clips


   These super sparkly and fabulous clips are the perfect way to display your kid's artwork! You may get sick of seeing those ugly vacation magnets or just feel like their artwork deserves more attention...I did! 
   As soon as I started using these clips for Eli's art I could tell that he felt special.  He loved that I was using the 'special clips' to display his art. A little bit of recognition can go a long way in proving to them that they are amazing...because they are!

Materials:
  • Clothespins
  • Two part Epoxy Glue
  • Spray Paint
  •  Glitter!
   Begin by spray painting your clothespins with a thin layer so they have a some color underneath the glitter. Allow the paint to dry a few minutes before you add one last coat. If you are going for the ombre look, just swipe another lighter shade spray paint on the upper half of the clothespin.  Move the can over the clips quickly to get more of a faded look.
   Once the paint has completely dried you can glue the magnet onto the back of the clothespin. I used a two part epoxy to make sure the magnet didn't come loose after a few uses.
   Now add the glitter :) I used Elmer's Glue for the glitter becuase it isn't really holding alot of weight. Add glue to all or part of the front of the clothespin and sprinkle on the glitter.
   Voila! You have a fabulous new way to display your kids awesome art! You could also attach art to a 'clothesline' display using these sparkly clothespins! Now go let them make some new art that you can hang!


Tuesday, March 26, 2013

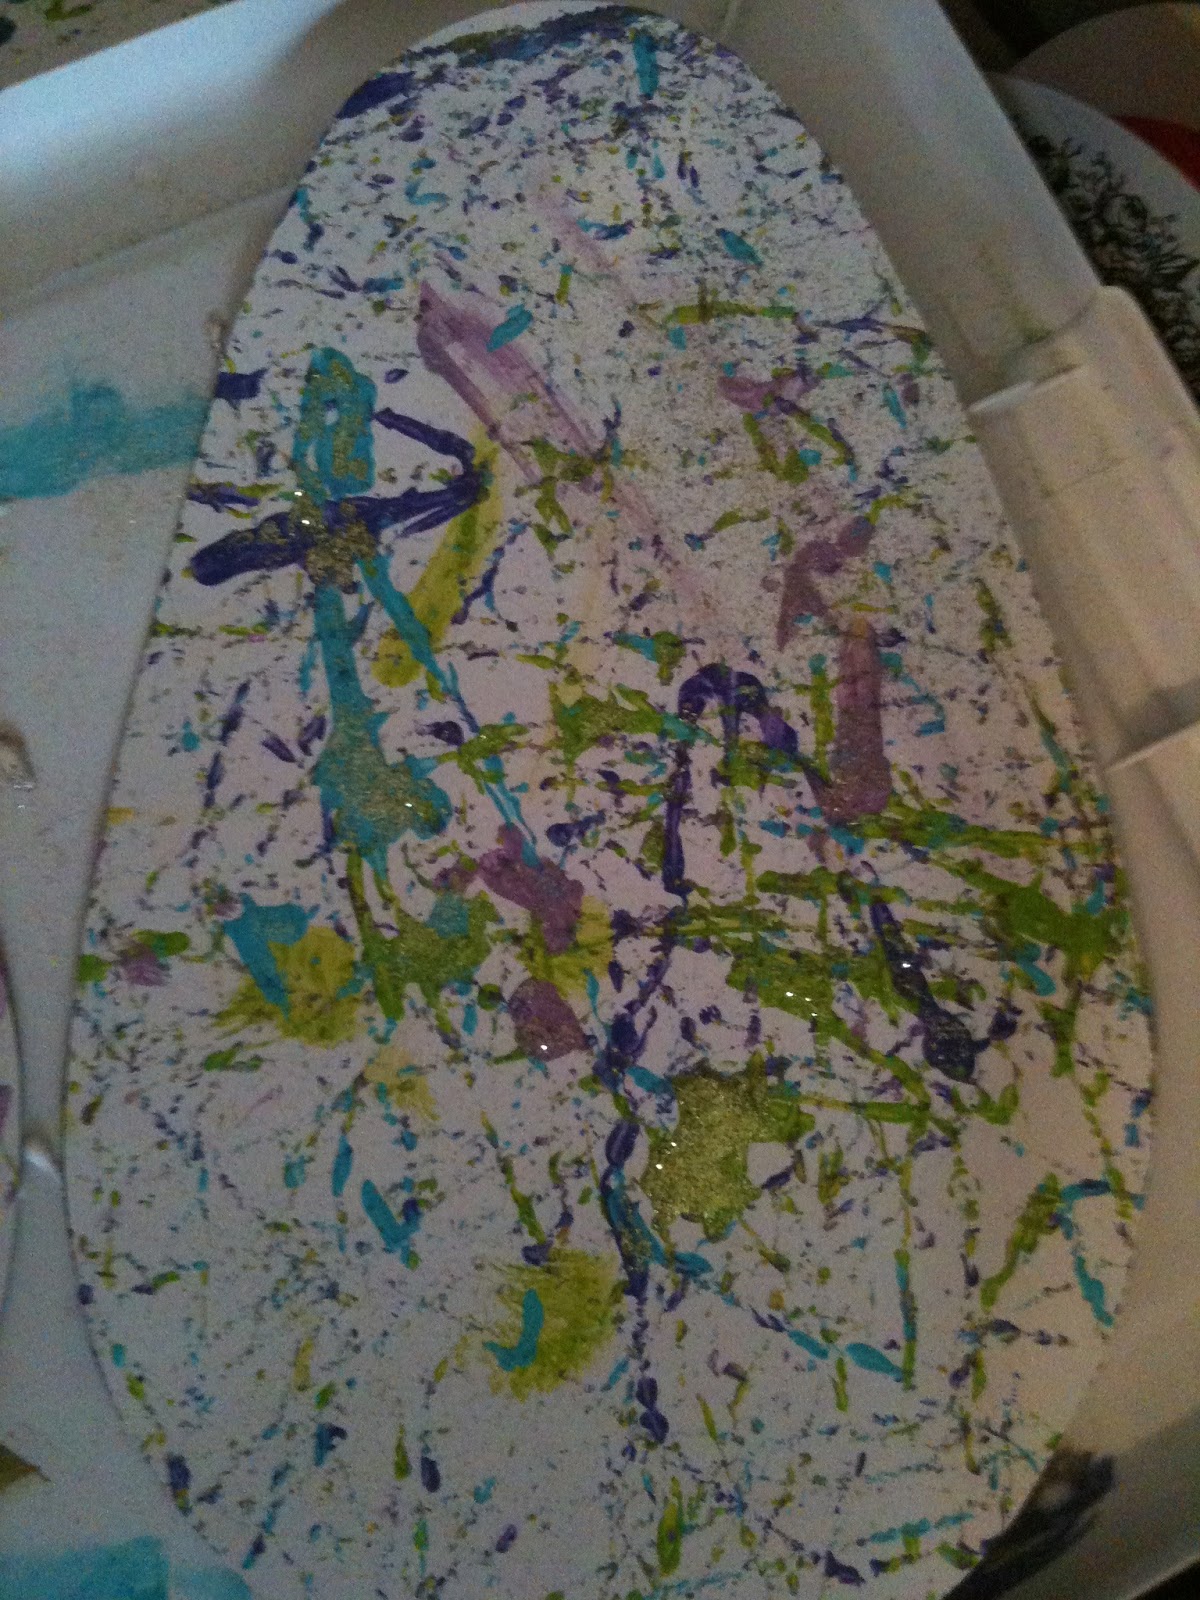
'Marble-ized' Easter Eggs


   This post is a little late, but you still have time to create these beautiful Easter eggs for your family and friends! Or you could use them as decorations like we did... either way this project is quick, easy to clean up and the end result is quite impressive :)

Materials:
  • White Construction Paper
  • Washable Paint (a few different colors)
  • Marbles (or beads)
  • Shoe Box
  • Glitter

   Cut an Easter egg shape out of your construction paper, don't worry, it doesn't have to be perfect!  Now place the paper egg into your shoebox. Set the box aside and get ready to use some paint.
   Choose 3-5 colors to use on your eggs. We used 'eastery' colors but you can pick colors you want.  Dip your marble or round bead into one color and drop it anywhere in the box.  Dip at least one marble into each color and drop each the box.
   Let your child move the box around so the marbles roll over the egg. (Watch the video to the right of my little man loving this project!) Continue rolling the marbles around until you are happy with the overall look of your egg.  If you want to add glitter, allow them to sprinkle any color glitter onto the egg when the paint is still dry. Voila! Now you have a beautiful Easter decoration!!!
   For another Easter egg project, use the same technique on another egg as I did on my Shaving Cream Fish Bowl!