Showing posts with label #kidsdiy. Show all posts

Friday, November 22, 2013

Turkey Crafts!

  Thanksgiving is so close and most work places (and schools and day-cares) are closed for at least part of the week. If you are looking for some fun projects to do with the kiddos when they are home look no further! 
   We had so much fun at school this week with the 'turkey' theme. If you want more detailed instructions for any of these crafts, click on over to my facebook page!

Coffee Filter/Toilet Paper Roll Turkey


Handprint Turkey


 Paper Bag Turkey


Turkey Cupcakes


Paper Plate Turkey


Tuesday, May 28, 2013

Super Fab Art Display Clips


   These super sparkly and fabulous clips are the perfect way to display your kid's artwork! You may get sick of seeing those ugly vacation magnets or just feel like their artwork deserves more attention...I did! 
   As soon as I started using these clips for Eli's art I could tell that he felt special.  He loved that I was using the 'special clips' to display his art. A little bit of recognition can go a long way in proving to them that they are amazing...because they are!

Materials:
  • Clothespins
  • Two part Epoxy Glue
  • Spray Paint
  •  Glitter!
   Begin by spray painting your clothespins with a thin layer so they have a some color underneath the glitter. Allow the paint to dry a few minutes before you add one last coat. If you are going for the ombre look, just swipe another lighter shade spray paint on the upper half of the clothespin.  Move the can over the clips quickly to get more of a faded look.
   Once the paint has completely dried you can glue the magnet onto the back of the clothespin. I used a two part epoxy to make sure the magnet didn't come loose after a few uses.
   Now add the glitter :) I used Elmer's Glue for the glitter becuase it isn't really holding alot of weight. Add glue to all or part of the front of the clothespin and sprinkle on the glitter.
   Voila! You have a fabulous new way to display your kids awesome art! You could also attach art to a 'clothesline' display using these sparkly clothespins! Now go let them make some new art that you can hang!


Wednesday, May 15, 2013

Animal Track Art

    This is for all those little scientists out there... for the wee ones that love to use their 'noculars to explore and their imagination to go new places. My son LOVES animals and loves to learn about them. The other day he saw some of our dog's footprints and the mud and was very intrigued- insert picture of mommy with light bulb turning on above her head. Why not make this into a cool painting project that will create some frameable art for me?! 
 Materials:
  • Plastic Toy Animals (preferably ones without batteries.)
  • Paint (we used Crayola washable paints for kids.)
  • Construction Paper 
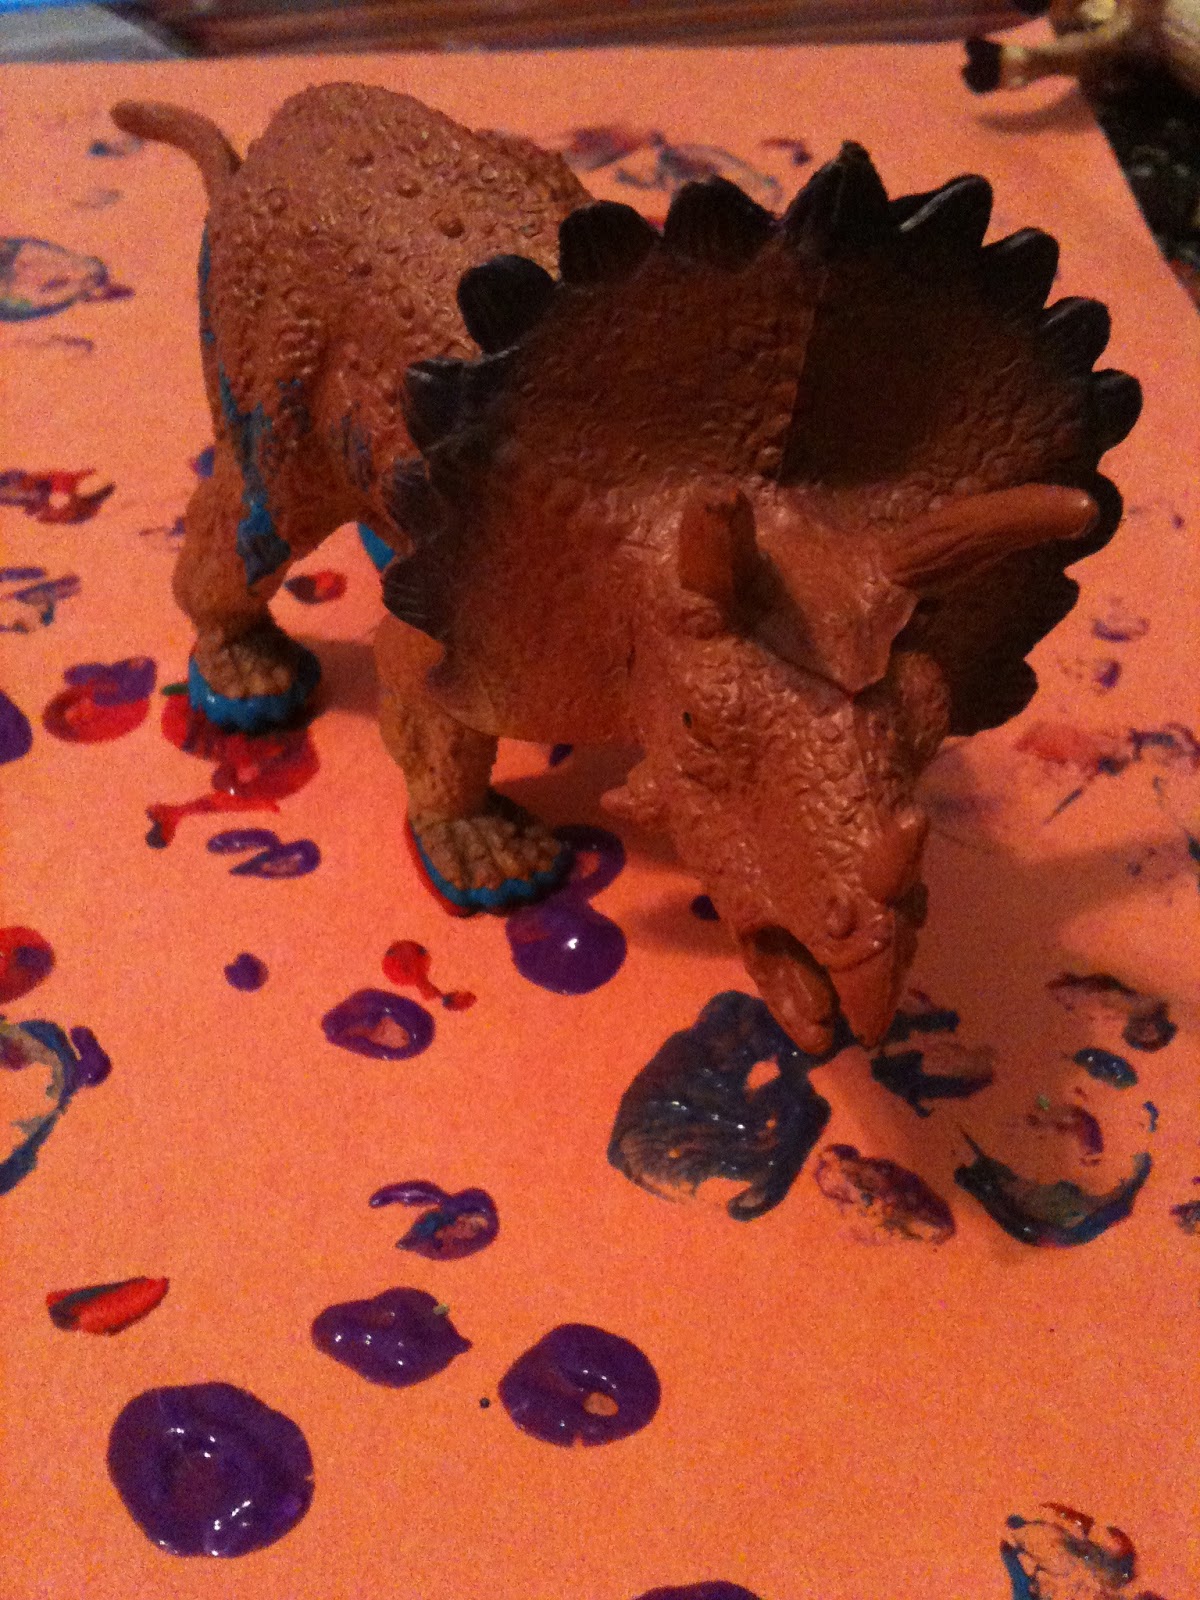
   Choose a few plastic toy animals from your collection that have interesting and different shaped feet. We grabbed a few dinosaurs, a giraffe, a pig, and a bear.  Squeeze some paint onto a paint friendly surface.  I always use old shoe box lids because they are thick enough to withstand paint after several uses.
   Dip the animals into the paint one at a time and 'walk' them across the construction paper. Explain to your kids that all animals are different and each have a unique foot print. They will love to see all the shapes and prints their animals make. My son got so excited and really understood that a bigger animal foot made a bigger print. Pretty cool watching them learn and actually seeing things 'click' like that :)
   After you have done several animals and several colors, start a new one! We created 4 or 5 print papers and I think I am going to frame them in the family room...they turned out really cool! 
   Enjoy 'tracking' everyone!
Here's a cute video of my little guy REALLY enjoying this project :)
  

Here's a great deal on construction paper-I love buying in bulk, especially if you are always crafting!

Saturday, March 16, 2013

Custom Coloring sheet!

Because I love all of you so much, I have decided to offer an (almost) FREE coloring sheet! Use this sheet to customize your child's next birthday party or just at home on those rainy days! Set up a coloring station at the party where you provide everything they need to 'customize their ride.'  Set out crayons, glue sticks, stickers, pom poms, glitter, anything to help them create a custom truck.  Use the coloring sheet in an activity station or roll it up and tie it with a ribbon to stick in the party favor bags :)


Click Here to purchase this custom coloring sheet in my Etsy shop.


Are you having a truck themed party? Well check out my adorable Truck Invitations and printable party accessories! Click the links below to find more Truck themed Stationery!

***
Truck Birthday Invitations and Envelopes.


***
Printable Truck Birthday Invitations.


***
Printable Truck Party Set.


Wednesday, March 13, 2013

Scrap Paper Project!

Scrap paper. Should I save it? Toss it? No! Don't throw it away, save it for goodness sake! If you are into crafts with your kid at all, you know what I am talking about. Those little pieces of construction paper left over after you practice cutting, gluing, etc. that really start to get on your nerves. I started doing this little project with my son to utilize all those extra scraps. Just save all your left-overs in a ziploc bag and use then when you have enough for this fun art project. When they are gone...start saving again!
Materials:
  • Scrap paper (any old kind will do!)
  •  Glue Stick
  • Washable Markers
   Start by drawing a shape of an animal, letter, number, anything you can think of! I used an octopus because this is what my son requested. We did a car after that.  
   Tare up all your scraps that you have saved in your little ziploc baggie.  Make the pieces small enough so little hands can grab them and glue them on, you also want them to fit throughout the entire shape. You could even tare up longer pieces for legs, arms, etc.  Now let your child glue the little pieces of scrap onto their 'octopus.'  This project is great for hand eye coordination and can really help them with patience.
   Try to encourage them to glue 'inside the lines' and talk to them about why they are putting the pieces where they are. "Are you gluing the eyes? Good Job! Where is that green piece going? Oh cool...the tentacles!" Kids are more likely to get into something if they see that you are enjoying it, too. Enjoy this time when they will sit down and communicate with you because I am told that will not last long :)

  Do they want more?!?! Give it to them! Use your scraps from this project to add buttons to your Recycled Race Car, or add little feet to your Egg Carton Caterpillar! These are just a few of many ideas! Happy crafting, everyone! :)

Saturday, March 2, 2013

Shaving Cream Fish Bowl

      I did this craft with my son after we saw an aquarium at the Dr.'s office. He was fascinated by the fish, the coral, the movement. A light bulb went off over my head. What a perfect opportunity to teach him about the ocean, and give him his own little piece of it! This is a simple project with just a few steps. It is not your run of the mill paint brush to paper craft, and sometimes a change is nice.
Materials:
  • Shaving cream
  • Fish stickers (or cut outs)
  • Washasble liquid watercolors
  • White cardstock
  • Construction paper
  • Spatula
  • Cookie Sheet
  • Scotch tape
   Start by getting out all of your supplies and setting up your 'assembly' line before you bring your kids over.  First cut out a fish bowl shape from a thicker type paper (do not use construction paper for the fish bowl!)...it doesn't have to be perfect, a circle with a small lip at the top is ideal.

   Let your child spray the shaving cream on to the cookie sheet.  Then, allow him to squeeze several dots of watercolors on top of the shaving cream. Push the fish bowl down about half way into the shaving cream/food coloring mixture.
   Remove the fish bowl from the shaving cream mixture and place it onto a few paper towels. Now scrape off the shaving cream using a spatula. Get as much of the shaving cream off as possible and allow the fish bowl to dry for about 20 minutes or until it is dry to the touch.
  Now you can decorate your fishbowl with your fish stickers! I found this was the best time to talk to Eli about different types of fish, where they live and what they eat, etc. (as well as remind him that the Dr. had an awesome tank that we got to see at every check-up!) He also enjoyed counting the total number of fish in his bowl and naming their colors.  I used some cute (free) printouts to teach him the actual fish parts and their actual names. My biggest pet peeve is when parents dumb things down for their toddlers...you'd be surprised at what they can learn if you just explain things to them!
    Lastly, glue your fish bowl to some blue construction paper (or any color for that matter) and enjoy your fish tank on the fridge for several days before it gets over run by new projects :) Happy crafting, everyone! 


If you haven't heard of liquid watercolors, check them out! 


Tuesday, February 26, 2013

Coffee Filter Butterflies


My little man lovvvved this project. It was pretty simple and doesn't make too big of a mess. I like multi-step projects like this every once in a while because it really teaches Eli to work on his patience while exploring an new medium.  These coffee filter butterflies can be made with things you have on hand and are really cute hanging on the fridge!
  
Materials:
  • Coffee filters
  • Washable watercolors 
  • Pipe cleaners
  • Glue gun
  • Magnet sticker strips
  • Old plate/tupperware
  • Paintbrush 
  • Paper bag 
  • Tongue depressors 


   I always loved a technique similar to this when I worked as a preschool assistant so I just tweeked it a little bit so we could do it at home.  Start by finding an old plate or tupperware container you don't mind getting paint on...it will wash off in the end so I just used a normal plate we had in the cabinet.  Grab the coffee filters, too. You need 1-2 filters for each butterfly so grab accordingly.  Flatten the coffee filter onto the plate and have your watercolors ready.
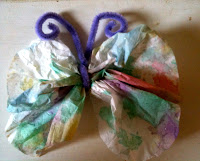
  Let your child paint the coffee filter with the watercolors. The filter will get soaked in paint and at some point you have to stop your child and give them a new filter.  Put the wet coffee filters on a paper bag to dry, I find the paper bag soaks up the excess water the best and doesn't stick to the wet filter...you could also use paper towels.
  If you want to make a butterfly without magnets, fold a pipe cleaner in half, gather the filter in the middle, and wrap the pipe cleaner around the middle. This is the butterfly's antenna.
  If you want to make a butterfly that will go on the fridge, gather two filters and hot glue the centers to a tongue depressor.  These are the butterfly's wings, put them close together or far apart...where ever you child thinks looks best :) We did a few of both.
  Now bend a pipe cleaner in half leaving a small loop at the bottom to attach to the tongue depressor. This is the antenna. Attach the antenna to the topside of the tongue depressor with your hot glue gun, on the same side you previously glued on.
   Once the glue on the wings and antenna is dry, cut two, one inch strips from a magnet sticker strip. Peel the backing off of the magnets and apply glue to the areas on top of both wings. (see pictures.) Place the magnet pieces on top of glue and allow it to completely dry.
   All you have to do now is stick them to the fridge, or make more! We made extras while we had all of the supplies out because I plan on using them as gift toppers! Cute, right?!
   If you really want to get into it, check out my egg carton caterpillar to explain to your kids how a butterfly is born! Or, make a packing peanut painting of a caterpillar!


Sunday, February 24, 2013

Recycled Race Car

   This recycled race car will give you hours of enjoyment and will double as a toy box when your kids are done with it!  It was another rainy day when thought of  this old favorite.  Like any boy, my little guy LOVES to 'play cars'.  It doesn't matter how old, beat up or how many missing wheels there are-a car is a car to a two year old.

Materials:

  • One cardboard box (usually the grocery or liquor store will give you one, or several, if you just ask!)
  • Spray Paint (you only need one color, and any you have on hand is fine.)
  •  Two paper plates (Styrofoam works, too.)
  • Black sharpie
  • Washable markers
  • Crayons
  • Stickers (we used 'transportation' themed stickers but any kind will do.)
  • 4 Brads (if you don't have these, and don't want to make a special trip for them, you can use glue instead.) 
  • One excited kid!

Who doesn't love sidewalk chalk?!


    I don't care how old you are. Can anyone seriously hold a piece of sidewalk chalk in their hand and not smile? This is one of my favorite past times and I am sooooo lucky my son loves it, too. We could sit out there for hours drawing until we run out of space and have to venture into the cul-de sac...that has actually happened.
   I think it is so important for a child to learn while playing. I always try to think of fun ways to teach my little guy things without him knowing it. He is only two, so our 'learning' mainly consists of letters, colors, shapes, etc, but there is so much more you can teach a child with chalk. Math is a big one.  I remember doing my times tables on the driveway as a kid. And hop-scotch! That's a simple counting game and kids have loved it for centuries.
    One thing that bothers me, though, is how un-inventive adults have become when it comes to their 'chalking.' Come on. We can only draw a rainbow, or a smiley face so many times.  I am always amazed, and a little jealous, of a kid's imagination. I mean, who would think to draw a purple cupcake castle with icing slides and sprinkle trees? Not me!
   Think out of the box. Who cares if you mess up, it's going to wash away in the next few days! Think about drawing scenes, or repetitive patterns. If you have any kid of brick near your home you've hit the jackpot. Color each brick one color. Then another on top of that, then another, and another until you have a beautiful rainbow of colors that is so much fun to look at! (And much more interesting than those basic rainbows you learned to draw in first grade.) You can turn it into a game by asking each child to hop onto a certain color, or count the number of 'blue' bricks.

Saturday, February 23, 2013

Pipe Cleaner Accessories!

   This is a great project for developing hand eye coordination.  It will also help to avoid alot of frustration for the little one's who can't quite string beads onto a wobbly strand yet. We happened to inherit a TON of beads from my mom, Gigi, so we decided to take full advantage of our surplus :)
    
Materials:

  • Pipe cleaners
  • Beads (use beads with larger holes for the little ones who can't string them yet.)
  • A happy kid!
  • Buttons (these are a new, fun type of 'bead' to string.)
   This project is pretty self-explainatory.  Simply show your child how to string the beads and buttons onto the pipe cleaner and encourage them to be patient as they fill it.  Leave about an inch bare on either side so you can create the bracelet enclosure.
   Once they are happy with the amount of beads on their pipe cleaner, they can decide whether they are making a bracelet or a pair of silly glasses...or both!
    *To make a bracelet, once you are through stringing beads, shape one end of the pipe cleaner into a circle and use the other side to fasten it by wrapping it around the end of the circle.  

    *To make a pair of silly glasses, make a bracelet but don't create the enclosure at the ends.  Instead, wrap the ends around each other to avoid the sharp ends of the pipe cleaner sticking out.  Now make another circle but attach it to the other circle the same way you closed the first one. Use two additional pipe cleaners without beads to create the rest of the glasses.