Showing posts with label #rainydaycraft. Show all posts

Saturday, June 8, 2013

DIY Shoots and Tunnels Car Garage

This project really became a favorite in my household.   Not only was this 'shoots and tunnels car garage' (as we call it) fun to make but it has also logged many hours in our household as favorite toy.  It is super easy to make,  completely made of recycled materials, and is a really sturdy toy that has really proven its durability.  Eli, my two year old, is so into cars right now. Really, anything with wheels that moves.  He has had more fun with this homemade contraption than with any other new toy he has acquired.  I feel good knowing that he can still appreciate the simple (and cheap) things in life. :)

Materials:
  • Soda 24 pack cardboard box
  • 3-5 paper towel/toilet paper rolls
  • scotch tape
  • scissors
  • paint
  • Hot glue gun (optional)
  • Stickers (optional)
   Start by deciding where you want your 'shoots and tunnels' to end up. Arrange them so the cars will end up in different places once out of the tunnels.  Think outside (or inside) of the box :) I cut two holes in our soda box so one tunnel could go through the box... I really scored some mommy points for this idea.
  Tape or hot glue the shoots and tunnels into place. I put tape around the outside of some of the rolls and some on each opening.

   Once you have all the shoots and tunnels you want, paint the entire thing with any color paint. We just used one color but you could also paint a scene, highway, etc. all over it if you child is a bit older and able to paint 'things.'

   We painted before nap time so it could dry for a few hours, then we added foam transportation themed stickers all over it....done! Our 'shoots and tunnels car garage' as Eli promptly called it was ready for action! 

   Eli still plays with this daily and we made it over a two weeks ago...it has also held up and so far (knock on wood) and I have not had to patch it up anywhere!

  Enjoy this fun, simple project and take the time to explain to your kids the importance of recycling and using our imagination! 


Saturday, May 4, 2013

Home Made Bird Seed Patties!

  
    I have been looking for a 'bird seed patty' recipe that didn't include weird ingredients that I had to make an extra grocery trip for and I finally found it! This little project is great for those rainy days when you can only paint and craft for so long... my little guy loves using mixing bowls and spatulas and adding ingredients to the pot. He also loves to watch the birds from our back window- guess I shouldn't use saying 'killing two birds with one stone' in this post but we really did :)  hehe Enjoy the home made birdie patties, everyone!

Materials:
  • 4 cups bird seed
  •  3/4 cups flour
  • 1/2 cup water
  • 3 tablespoons corn syrup (I used light and it worked just as well.)
  • Twine or String
  • Cookie Cutters (I found that the larger ones work best.)
  • PAM Spray (or any brand.)
  • Aluminum Foil
  • Plastic Straws
    I like to pre-measure all of my ingredients so they are all ready for my little helping hands to toss into the bowl. I find the more time I involve him the more interested he is.  So allow your little ones to combine all of the ingredients: bird seed, flour, water and corn syrup.  Stir the mixture until the entire bowl is moistened.
   Line a cookie sheet with aluminum foil and spray the foil with your cooking spray. Place the cookie cutters on the cookie sheet and also spray the inside of each cutter, this will allow for easy patty removal in the end.
   Pack the cookie cutters to the brim using a spoon or a spatula and push on them to ensure the mixture has made it into all the nooks and crannies.
   Once you have used all of the bird seed mixture, use a straw to poke a hole near the top middle of each patty, you will have to manuver it back and forth to get it the whole way through.  Cut the straw up and leave  a small part of the it in each cutter so the hole wouldn't close up over night.
   Periodically pack the mixture down in each cutter so your patties will stay together longer once they are hanging outside.
  Once they have dried and are hard, pop them out of the cookie cutter and string them up where ever you want to see more birds! Ours only lasted a few days because the birds loved them so much! Next time I will only put a few outside at a time :)
   This recipe will make about 2 dozen normal size cookie cutter patties,
you can cut all the ingredients in half to make a dozen if you don't want to use that much bird seed... but remember they make cute little gifts for the grandparents!
  

Tuesday, March 26, 2013

'Marble-ized' Easter Eggs


   This post is a little late, but you still have time to create these beautiful Easter eggs for your family and friends! Or you could use them as decorations like we did... either way this project is quick, easy to clean up and the end result is quite impressive :)

Materials:
  • White Construction Paper
  • Washable Paint (a few different colors)
  • Marbles (or beads)
  • Shoe Box
  • Glitter

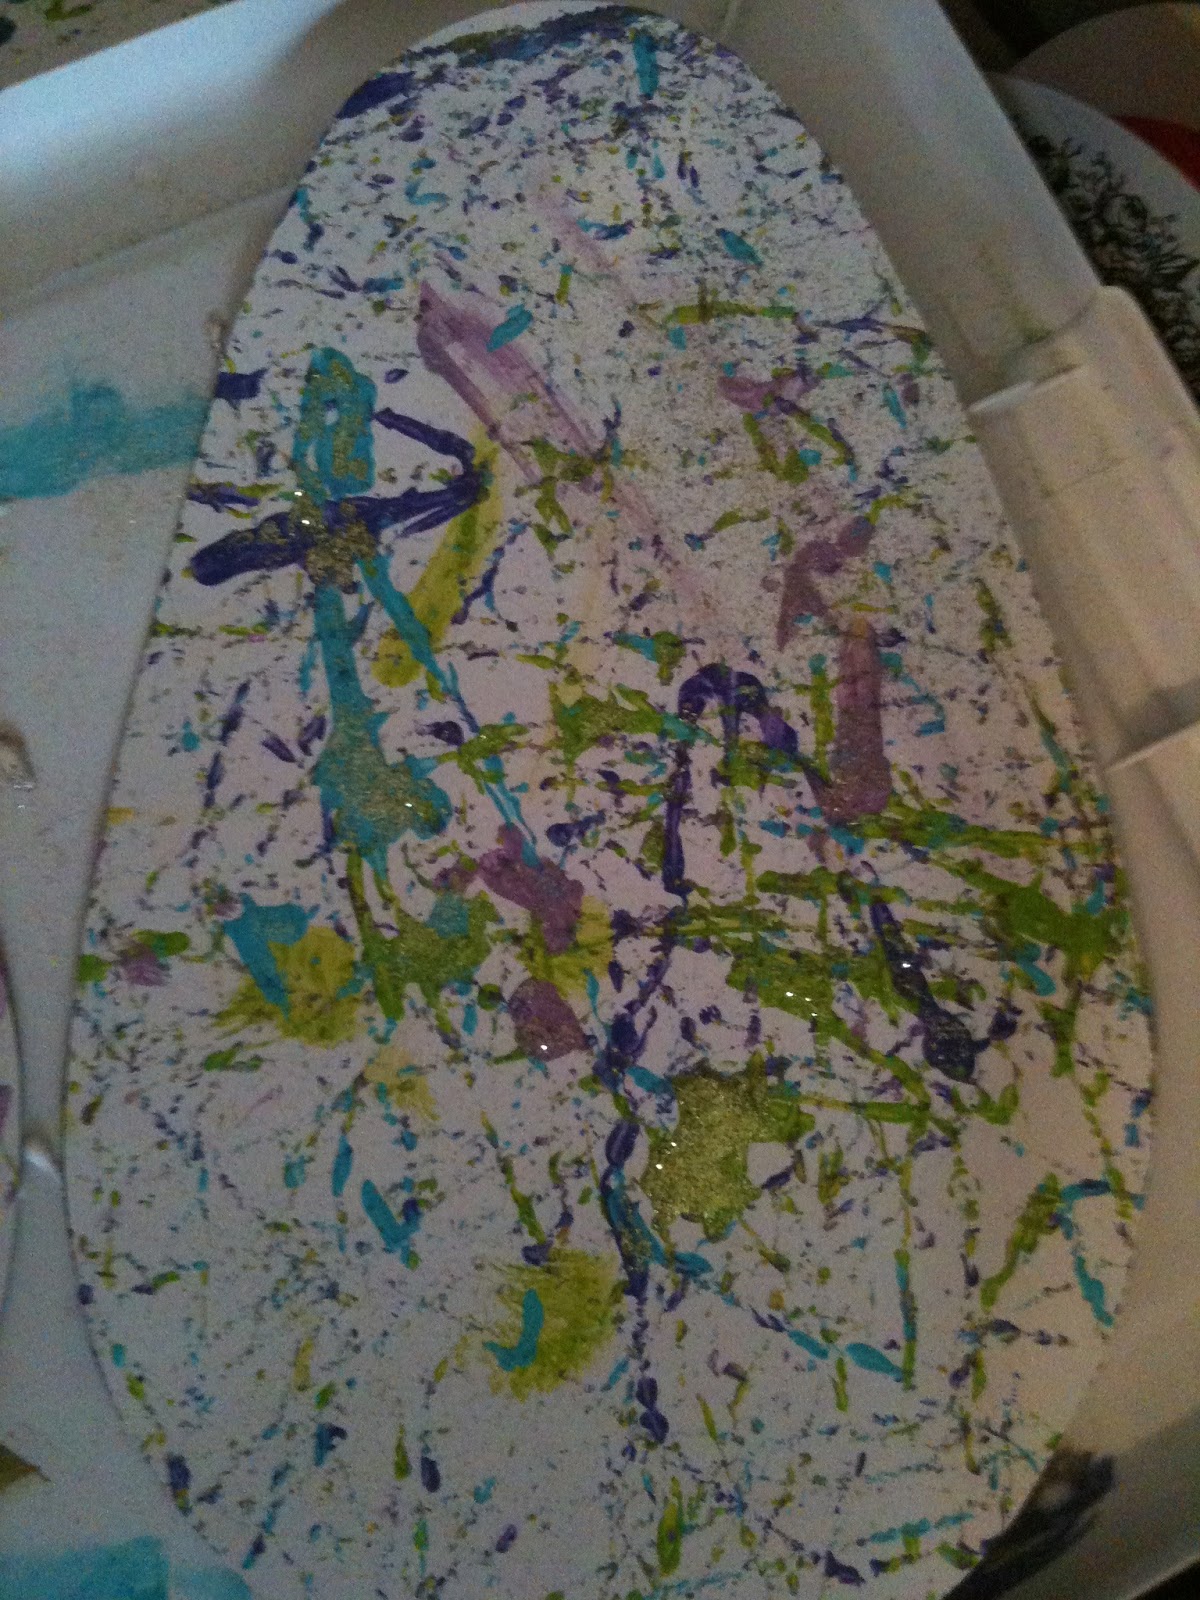
   Cut an Easter egg shape out of your construction paper, don't worry, it doesn't have to be perfect!  Now place the paper egg into your shoebox. Set the box aside and get ready to use some paint.
   Choose 3-5 colors to use on your eggs. We used 'eastery' colors but you can pick colors you want.  Dip your marble or round bead into one color and drop it anywhere in the box.  Dip at least one marble into each color and drop each the box.
   Let your child move the box around so the marbles roll over the egg. (Watch the video to the right of my little man loving this project!) Continue rolling the marbles around until you are happy with the overall look of your egg.  If you want to add glitter, allow them to sprinkle any color glitter onto the egg when the paint is still dry. Voila! Now you have a beautiful Easter decoration!!!
   For another Easter egg project, use the same technique on another egg as I did on my Shaving Cream Fish Bowl!

Wednesday, March 13, 2013

Scrap Paper Project!

Scrap paper. Should I save it? Toss it? No! Don't throw it away, save it for goodness sake! If you are into crafts with your kid at all, you know what I am talking about. Those little pieces of construction paper left over after you practice cutting, gluing, etc. that really start to get on your nerves. I started doing this little project with my son to utilize all those extra scraps. Just save all your left-overs in a ziploc bag and use then when you have enough for this fun art project. When they are gone...start saving again!
Materials:
  • Scrap paper (any old kind will do!)
  •  Glue Stick
  • Washable Markers
   Start by drawing a shape of an animal, letter, number, anything you can think of! I used an octopus because this is what my son requested. We did a car after that.  
   Tare up all your scraps that you have saved in your little ziploc baggie.  Make the pieces small enough so little hands can grab them and glue them on, you also want them to fit throughout the entire shape. You could even tare up longer pieces for legs, arms, etc.  Now let your child glue the little pieces of scrap onto their 'octopus.'  This project is great for hand eye coordination and can really help them with patience.
   Try to encourage them to glue 'inside the lines' and talk to them about why they are putting the pieces where they are. "Are you gluing the eyes? Good Job! Where is that green piece going? Oh cool...the tentacles!" Kids are more likely to get into something if they see that you are enjoying it, too. Enjoy this time when they will sit down and communicate with you because I am told that will not last long :)

  Do they want more?!?! Give it to them! Use your scraps from this project to add buttons to your Recycled Race Car, or add little feet to your Egg Carton Caterpillar! These are just a few of many ideas! Happy crafting, everyone! :)